Running tmsTime2Pay with a Quick Books export
Summary
This document addresses work instructions for how to run tmsTime2Pay with a Quick Books export.
1. Log into tmsConneXion; also, QuickBooks should be open.
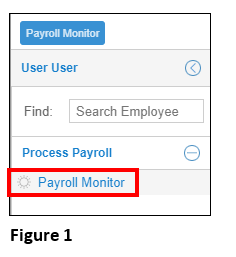
2. Select Payroll Monitor from the quick menu (the location may vary) (Figure 1).

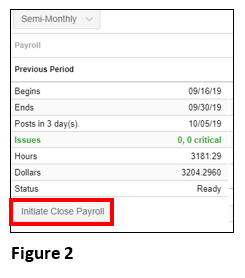
3. Once Payroll Monitor opens, clear any critical exceptions (Issues will be in red) and select Initiate Close Payroll (Figure 2).
 4. Once finished, an hours.csv file will be available for download (Figure 3).
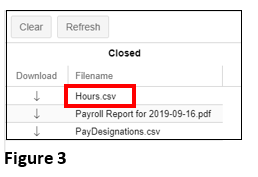
 5. Click on Hours.csv and it will take you to the download folder on your computer in zipped format (Figure 4).
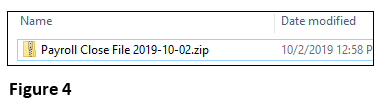
 6. Copy this file over to the c:\Hours folder.
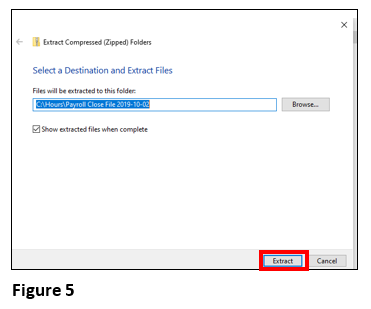
7. Right click on the file and select Extract (Figure 5).
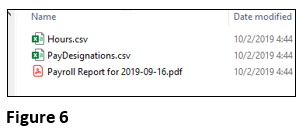
 8. The following files will be available (Figure 6).
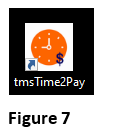
 9. Open tmsTIme2Pay by clicking on the icon on your desktop (Figure 7).
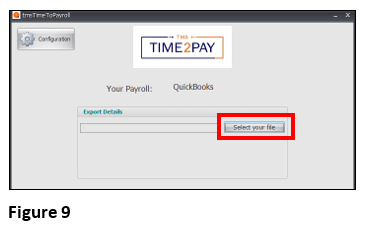
 10. Click Select your file; find the .csv file you saved (Figure 9). Select Open.
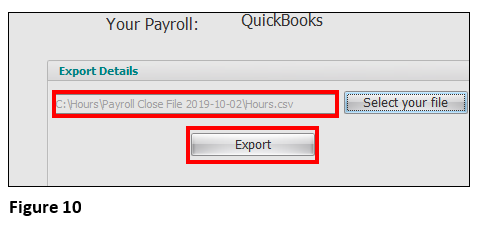
 11. Once the file has been selected, click Export (Figure 10).
 12. Type in payroll.csv for the file name and select Save (Figure 11).

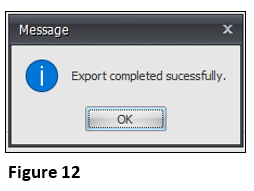
 13. If successful, the following message will display (Figure 12).
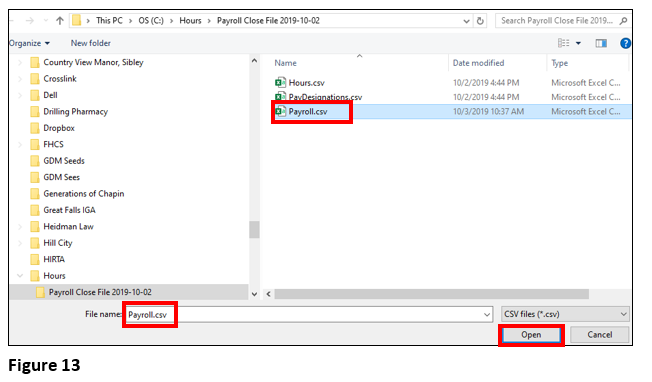
 14. Highlight Payroll.csv and it will show in File name; Click Open and the data will be imported into Quick Books for each employee timesheet (Figure 13).