How to Assign a Badge on the IDpunch 7 in MSS2
Summary
This document addresses work instructions for how to add a badge for an employee to use the IDpunch 7 timeclock.
How to Add a Proximity Badge
1. For an existing employee, navigate to the employee’s Personal Information page and Basic tab (Figure 1).
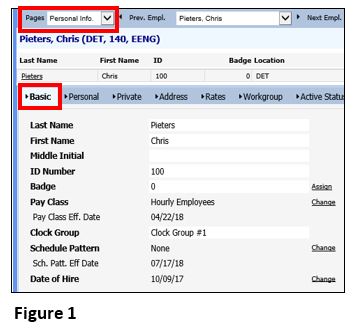
2. To add a new badge for the first time, select Assign in the Badge field (Figure 2). If there is a previous badge that you may be replacing, see Step 5.

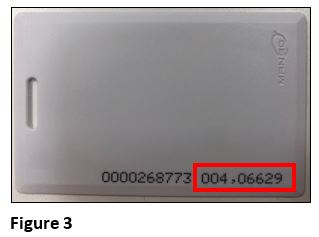
3. Locate the badge number (on the badge itself) (Figure 3).
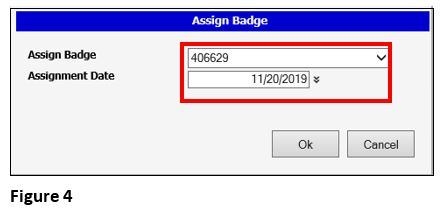
4. On the Assign Badge box, enter the badge number with no comma, verify the proper Assignment Date and click OK (Figure 4).
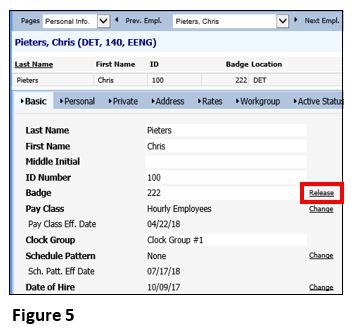
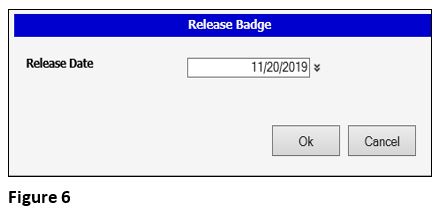
5. To replace an existing badge, select Release (Figure 5).
6. Select the proper Release Date to release the badge and click OK (Figure 6). Once the badge has been released, see Step 2.
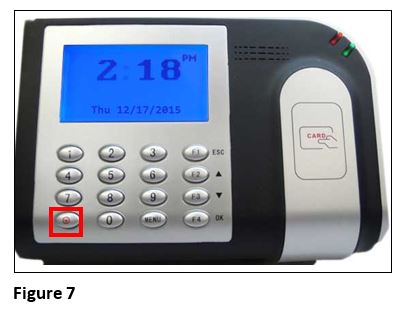
7. Once the new badge has been assigned to the employee, resync the clock (Figure 7).
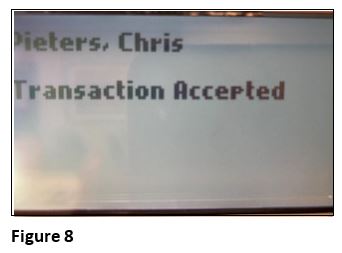
8. The badge is now ready to be used; verify the employee sees their name on the display screen once they have punched (if the display simply says ‘Transaction Accepted without the employee’s name, verify the badge number was entered correctly) (Figure 8).
Please Note: When assigning a badge to a new employee, you will have the opportunity to enter the badge number as part of the setup.