How to Modify Shared Reports
Summary
This document addresses work instructions for how to modify Shared Report.
Shared Reports
Reports are available in the Shared Reports menu items. Reports are used to display pertinent information about employee’s schedule, hours, benefits, time, expenses, etc. Clients can use these predefine reports or customize reports to fit their needs. All users with access to the Manager Portal will also have access to Shared Reports and the ability to modify them; users will always want to review the report parameters; don’t assume that because a report was previously run with specific parameters that the report hasn’t been modified with new parameters since then. It is always recommended that shared reports are set back to the standard parameters when the user is done.
Modifying a Report
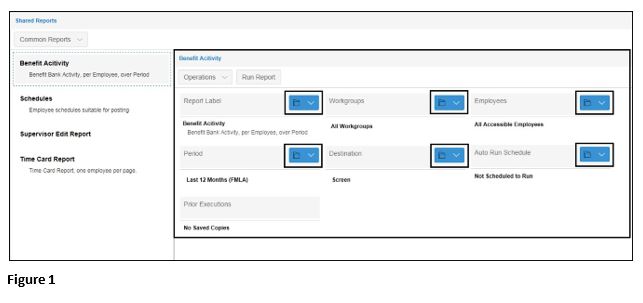
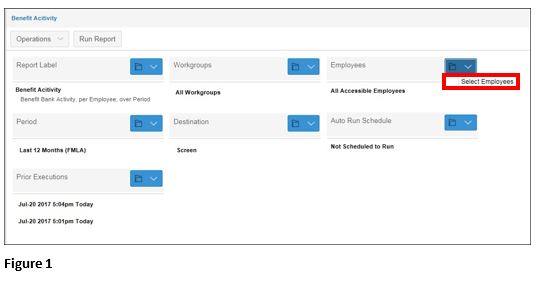
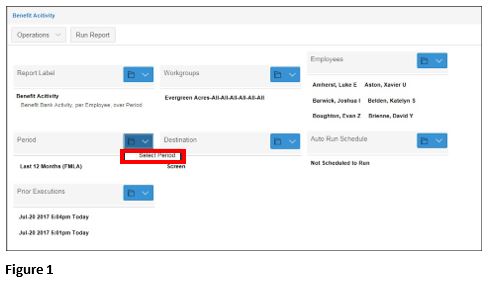
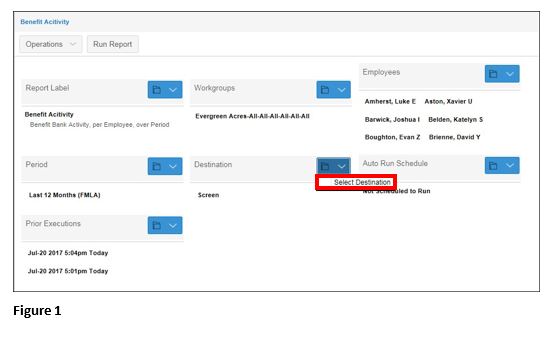
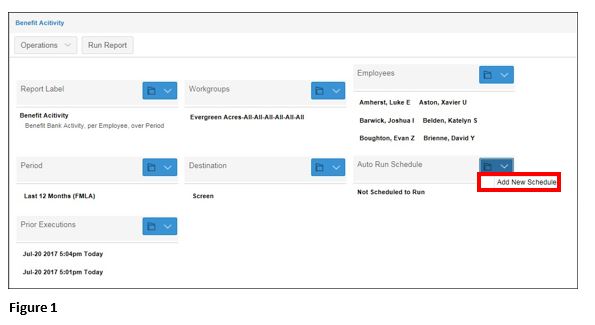
Users are able to run, copy, add, and modify reports based on desired criteria. Modifying (adjusting properties) of a report are simple to make. Report properties are adjusted using drop-down menus to specify report criteria (Figure 1).
Reports Label Section (Adjust Basic Properties)
To Adjust Report Basic Properties
1. Click the Folder (Figure 1) button next to the Report Label section to adjust the basic properties of a report (Figure 2).

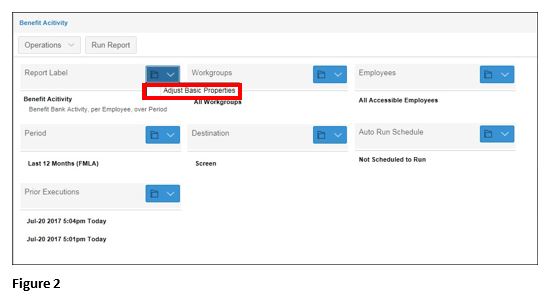
2. The Adjust Report Basic Properties window will appear (Figure 3).
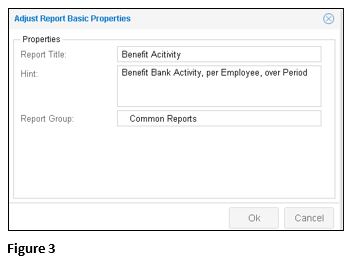
3. Enter a new name in the Report Title field.
4. Enter a report group name in the Report Group field.
5. Click OK.
Workgroups
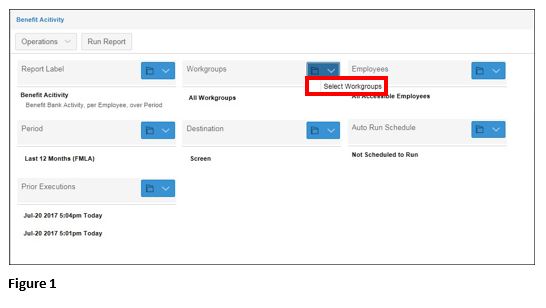
1. Click the Folder button next to the Workgroups section to adjust workgroups for the report (Figure 1).
2. The Define Workgroup Sets window will appear (Figure 2).
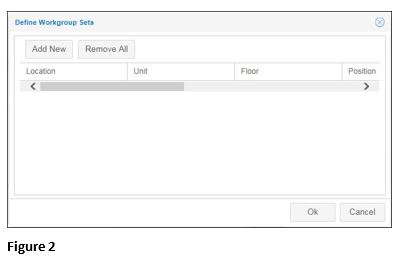
3. Click Add New to add a new workgroup (Figure 3).
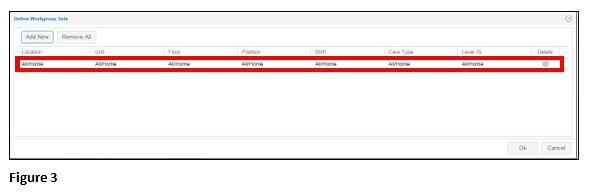
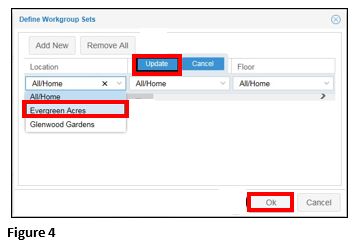
4. Select the workgroup option from the drop-down menu.
5. Click Update to save selection.
6. Click OK (Figure 4).
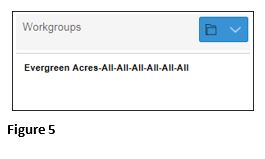
7. The selections will appear below the report header (Figure 5).
Employees
1. Click the Folder button next to the Employees section to select employees for the report (Figure 1).
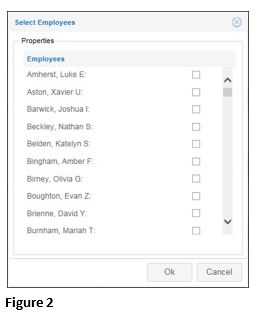
2. The Select Employees window will appear (Figure 2).
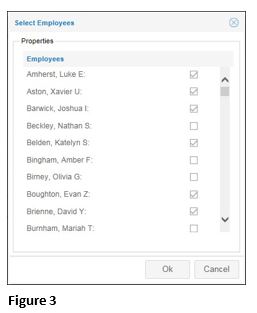
3. Check specific employee checkbox to report on; click OK (Figure 3).
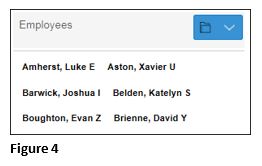
4. The select choices will appear (Figure 4).
Period
1. Click the Folder button next to the Period section to select period for the report (Figure 1).
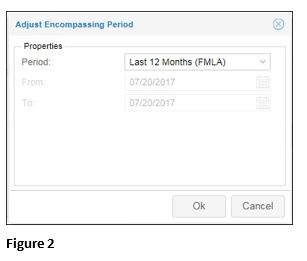
2. The Adjust Encompassing Period window will appear (Figure 2).
3. Select the period from the Period drop-down menu (Figure 3).
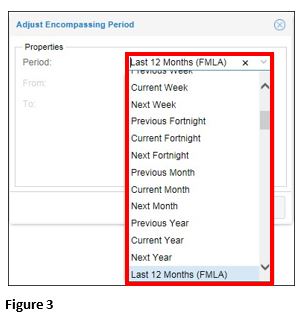
Note: The Period field is only for certain reports.
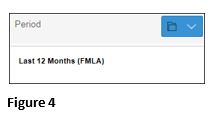
4. Click OK. Your selection will appear below the report header.
Destination
1. Click the Folder button next to the Destination section to define the destination for the report, either Screen or Email (Figure 1).
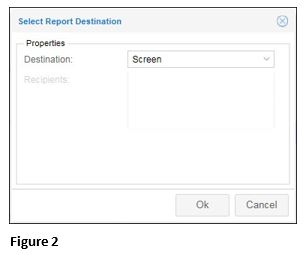
2. The Select Report Destination window will appear (Figure 2).
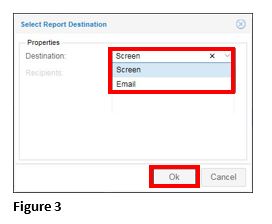
3. Select the destination (screen or email) from the Destination drop-down menu and click OK (Figure 3).
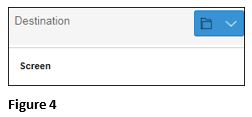
4. The select choice will appear (Figure 4).
Auto Run Schedule
1. Click the Folder button next to the Auto Run Schedule section to define a schedule to run the report (Figure 1).
2. The Adjust Report Schedule window will appear (Figure 2).
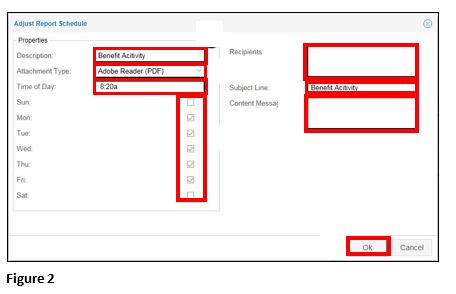
2. Enter a description for the report in the Description field.
3. Select the type of file to save the report as from the Attachment Type drop-down menu.
4. Enter the time to run the report in the Time of Day field.
5. Check the Day(s) to run the report checkbox(es).
6. Enter the email address of recipients in the Recipients text box.
7. Enter a subject in the Subject Line field.
8. Enter a description of the report in the Content Message: text box.
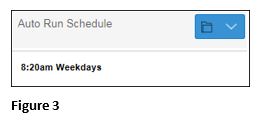
9. Click OK. The select choice will appear (Figure 3).
Prior Executions
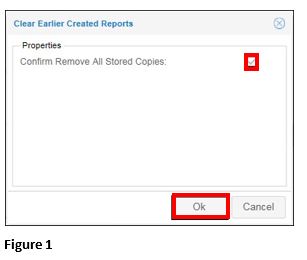
1. Click the Folder button next to the Prior Executions section to view previous executed reports with their times and dates. The previous report execution dates will appear in the drop-down. This allows the user to view times that the report was run manually or automatically.
(Figure 1).
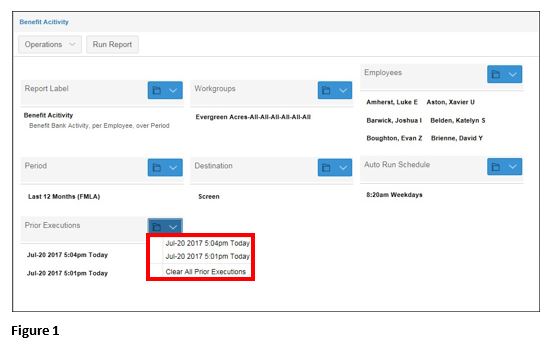
Note: Clicking on the previously run report will open that report without executing the report again. This saves time and gives a duplicate of that report. To clear the report run history, select the Clear All Prior Executions (Figure 2).
To Clear Previous Executions
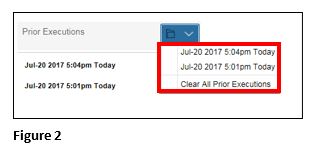
1. Select Clear All Prior Executions to display the Clear Earlier Created Reports window (Figure 1).
2. Check the Confirm Remove All Stored Copies checkbox.
3. Click OK. All previous run reports will disappear (Figure 2).
