Installation of the ZK Facial Recognition Clock and Screen 'N Go Tablet
Summary
This document addresses work instructions for how to install the ZK Facial Recognition clock and the Screen 'N Go Tablet (if used)..
Mounting Instructions
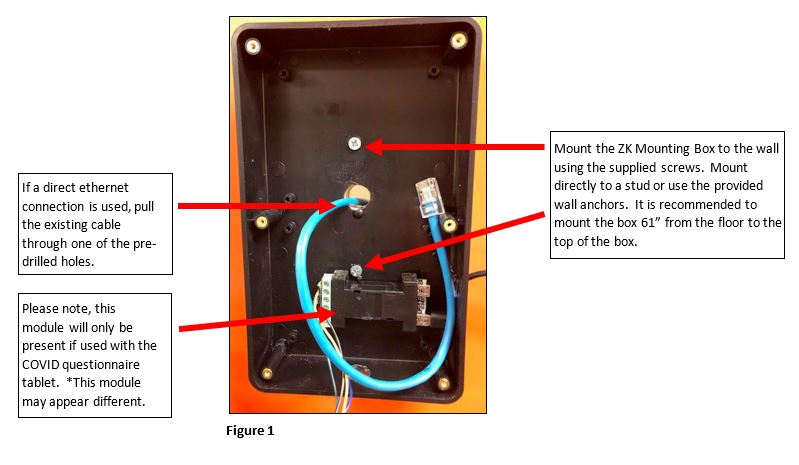
1. Use the supplied mounting screws and wall anchors (if necessary) to mount the ZK Mounting Box directly to a wall stud. TMS recommends mounting the box approximately 61” from the floor to the top of the box. If direct ethernet is being used, pull the cable through one of the predrilled holes (Figure 1).
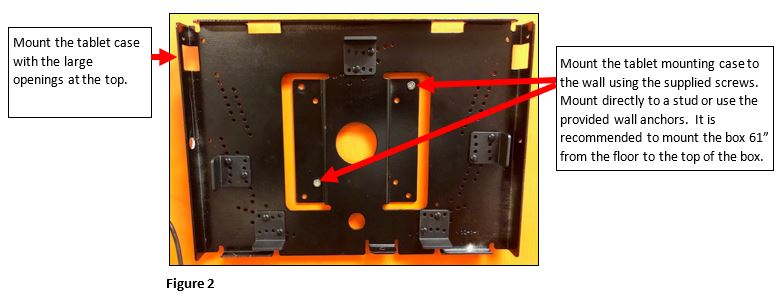
2. If the Screen 'N Go tablet is being used, mount the tablet case directly to a stud or wall anchors (if necessary) using the supplied screws. TMS recommends mounting the case approximately 61” from the floor to the top of the box (Figure 2).
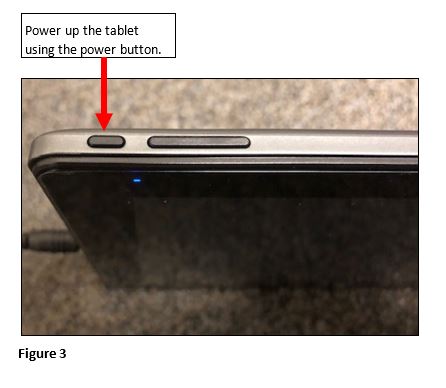
3. Power up the tablet using the power button (Figure 3).
4. Setup the wireless network on the tablet.
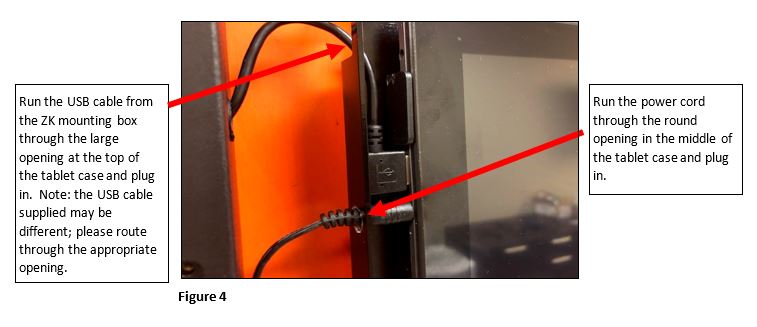
5. Run the USB cable from the ZK mounting box through the large opening at the top of the tablet case and the power cable through the round hole and plug both into the table. The tablet retainer clips may be moved if necessary (Figure 4).
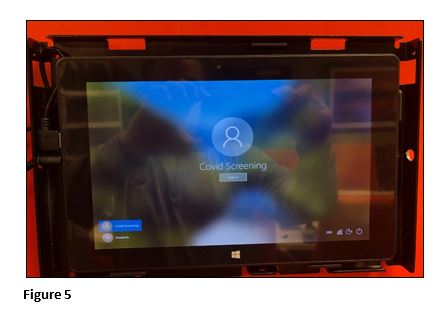
6. Carefully place the tablet on the retainer clips (please make sure to hold the tablet in place (Figure 5).
7. If a direct ethernet connection is being used, plug the ethernet cable into the ethernet connector coming from the back of the ZK clock (Figure 7).

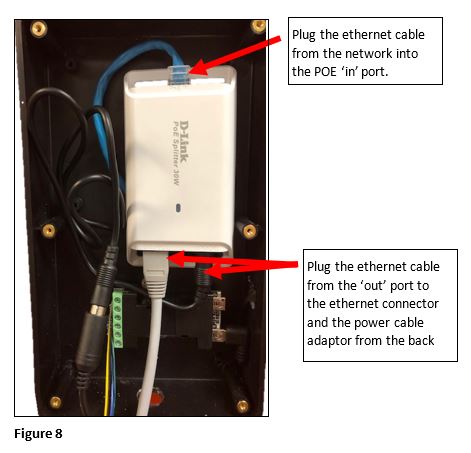
8. If a POE (Power Over Ethernet) module is being used, plug the ethernet cable from the network into the ‘in’ port and the ethernet cable from the ZK clock into the ‘Out’ port on the module; plug the power cable into the appropriate port on the POE as well (Figure 8). Tuck the POE, ethernet cables into the mounting box and power cord.
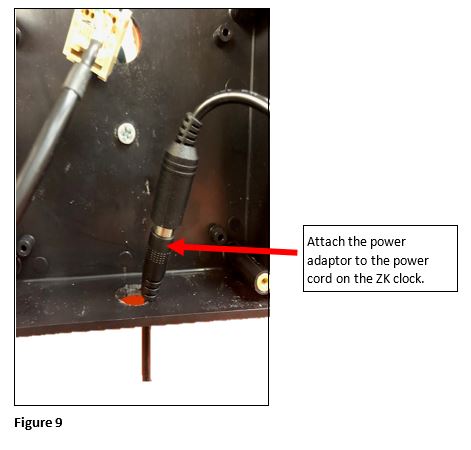
9. If a POE is not being used, feed the power adaptor cord thru the bottom of the mounting box and plug in to the ZK clock (Figure 9).
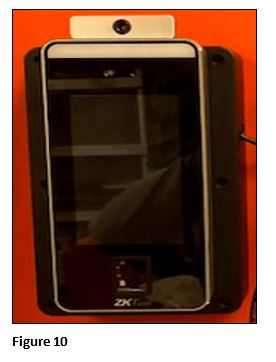
10. Secure the mounting box cover to the box with the 6 provided screws, feeding the ethernet and power adaptors through the pre-drilled hole and ZK mounting bracket. Attach the ethernet and power cords to the back of the ZK clock and mount the clock to the clock bracket attaching the set screw at the bottom of the clock. (Figure 10).
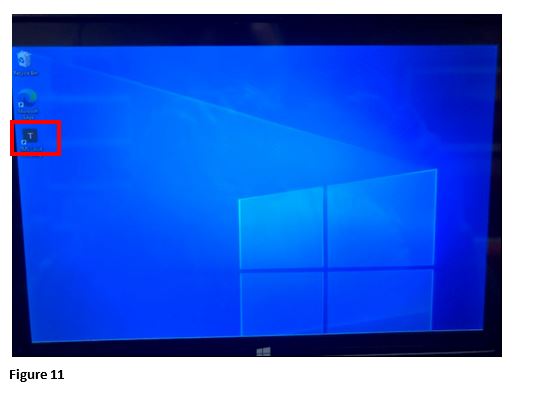
11. Double click on the TMS Covid Screening Icon (Figure 11).
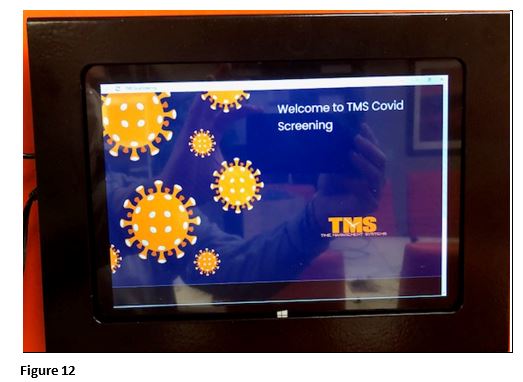
12. The Covid Questionnaire will open (Figure 12).
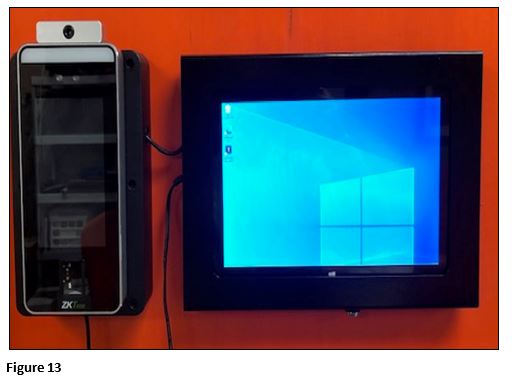
13. Once the clock has been set up by the administrator and the questions have been created, the mounted clock and tablet will now be ready for use (Figure 13).