How to Access My Account
Summary
This document addresses work instructions for how to access My Account.
My Account
The user profile displays user rights are obtained from the browser profile. The type of user account, determines the manager‘s access rights to workgroups, employees, reports, timecard management, etc.
The following operations are available on the My Account page to manage properties such as name, profile type, Operator Workgroup Access Rights, Private Operator Workgroup Definitions, employee Notifications, and Manage My Crew of a specific user account.
To access My Account:
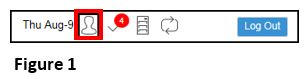
1. Click on the My Account icon (Figure 1) to view the profile properties and the Profile Properties (My Account page) will appear (Figure 2).
You can also modify how information is displayed, such as allowing the system to show am/pm designations or to show time in hundredths.
Depending on which drop-down menu option is selected, different properties will appear and can be modified.
Note: Some properties are only available depending on the type of login profile
Basic Operator Properties
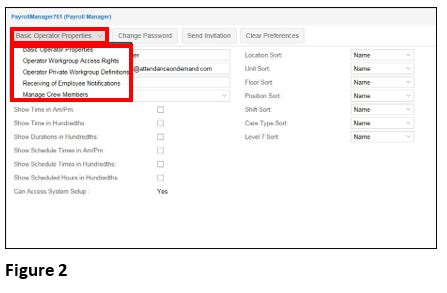
1. Select Basic Operator Properties menu item (Figure 1). This is also the default menu item.
Note: Account basic information and visual preferences are displayed.
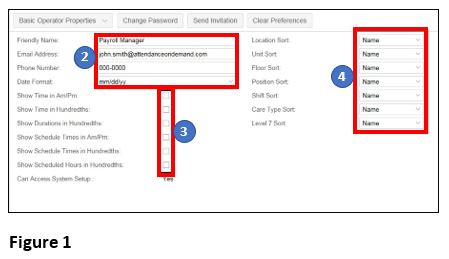
2. Enter or modify the Friendly Name, Email Address, Phone Number text fields.
Note: If an Administration account: Select the type of Profile, User Group, Time Zone and Date format from the drop-down fields.
3. Specify how Time and Schedules are displayed using Show Time in Am/Pm (or 24 hour time), Show Time in Hundredth, Show Duration in Hundredths, Show Schedule Times in Am/Pm, Show Schedule Time in Hundredths, Show Scheduled Hours in Hundredths.
4. Select the Workgroup Type, either Name, Code or Number, from the drop-down fields (Figure 2).
Note: Workgroups are created with a number, code and name. Users can select which of the three formats they want to be displayed in Manager Portal for each workgroup level.
Operator Workgroup Access Rights
Operator Workgroup Access Rights allows those particular users access to none, some or all workgroup levels
Note: Supervisors will not modify their own account. This feature is used for verifying employee workgroup rights when managing users. Most users will not have the ability to change their access rights.
To Set Operator Workgroup Access Rights:
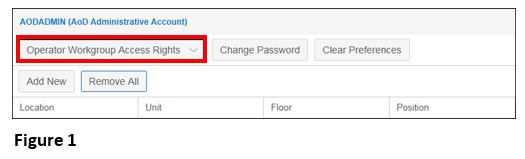
1. Select Operator Workgroup Access Rights from the drop-down menu (Figure 1).
To Add a New Workgroup Set:
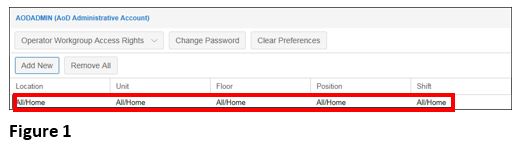
1. Click the Add New button. A new workgroup row will appear (Figure 1).
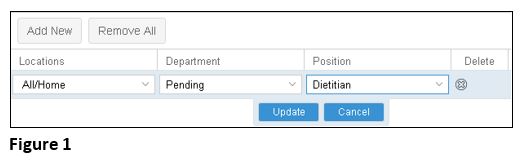
2. Click the Down Arrow. A list of workgroup options will appear.
3. Select the desired workgroup from the list.
4. Click Update to save the changes
To Remove an Existing Workgroup Set:
1. Click “X”. The workgroup set is removed without confirmation (Figure 1).
To Remove All Workgroup Sets:
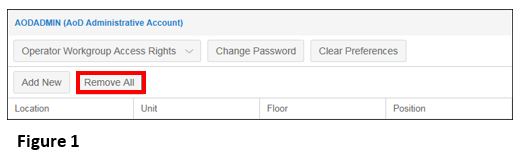
1. Click the Remove All button. All workgroup sets are removed with no confirmation (Figure 1).
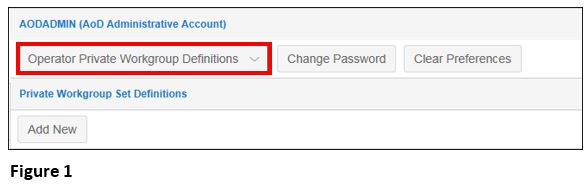
Operator Private Workgroup Definitions
The Operator Private Workgroup definition allows users to set and create private workgroup filters. Examples of when Private Workgroup definitions are often used is when filtering the calendar dashboard view and group scheduling.
1. Select Operator Private Workgroup Definitions to manage private workgroup sets (Figure 1).
To Add a Private Workgroup Set:
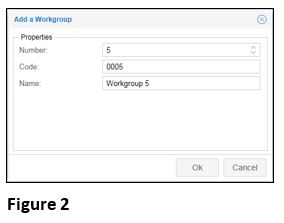
1. Click the Add New button. A new workgroup set will appear (Figure 1).

2. Click the New Group text field under the Label column to modify the label name (Figure 2).
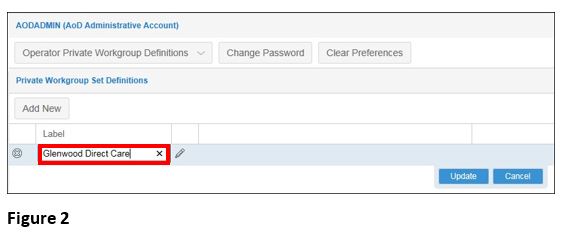
3. Click Update to save the workgroup set definition name.
4. Click the Pencil icon to add a private workgroup set definition and the Workgroup Sets for [New Group Name] window will appear (Figure 3).
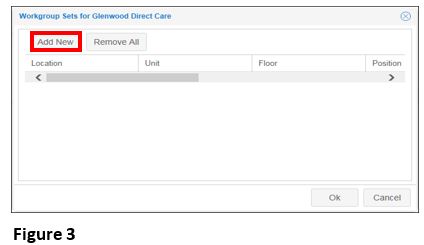
5. Click the Add New button to add a new workgroup set for the new group.
6. Make a selection for each workgroup level (Figure 4).
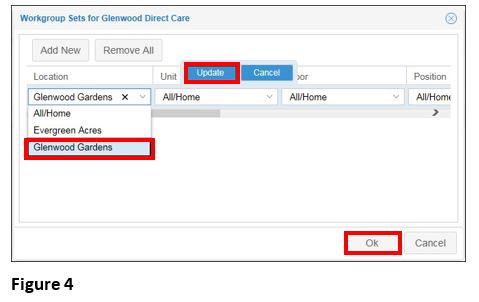
7. Select the desired workgroup from the list.
8. Click Update to save the changes.
9. Click OK.