How to Use tmsKiosk with tmsConneXion v4
Summary
This document outlines how to use tmsKiosk in conjuction with tmsConneXion v4. tmsKiosk is a quick way for employees to both punch in and out, transfer workgroups and review previous and current period activity.
How to Punch In
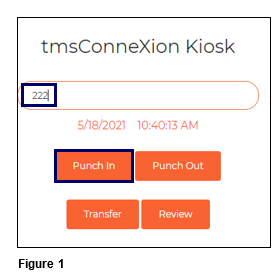
1. To Punch In, the user will enter either their Employee ID or Badge number and tap the Punch In button (Figure 1).
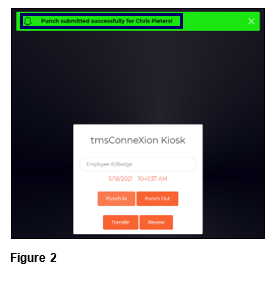
2. Upon successfully Punching In, a message display at the top of the screen and the transaction has posted to the timecard (Figure 2).
How to Punch Out
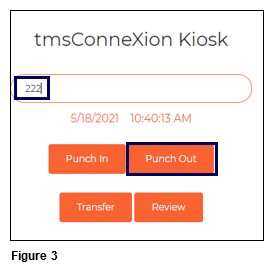
1. To Punch Out, the user will enter either their Employee ID or Badge number and tap the Punch Out button (Figure 3).
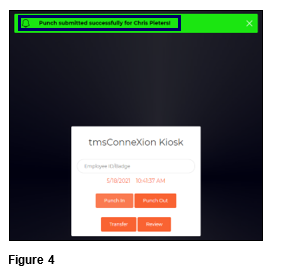
2. Upon successfully Punching Out, a message display at the top of the screen and the transaction has posted to the timecard (Figure 4).
Missing Punch
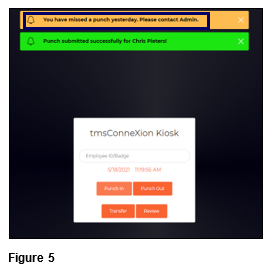
If the user missed their last punch in the current pay period, upon punching in, they would see a message alerting them to the missing punch and to contact their manager. Please note, their punch in will be accepted (Figure 5).
Transfer:
A transfer is a temporary authorized workgroup change that moves to the timecard that some organizations use. To transfer, the user must first be punched in.
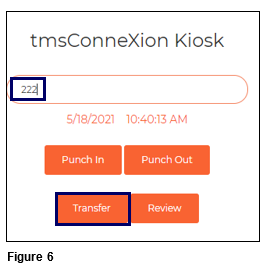
1. Enter the Employee ID or Badge and click on the Transfer button (Figure 6).
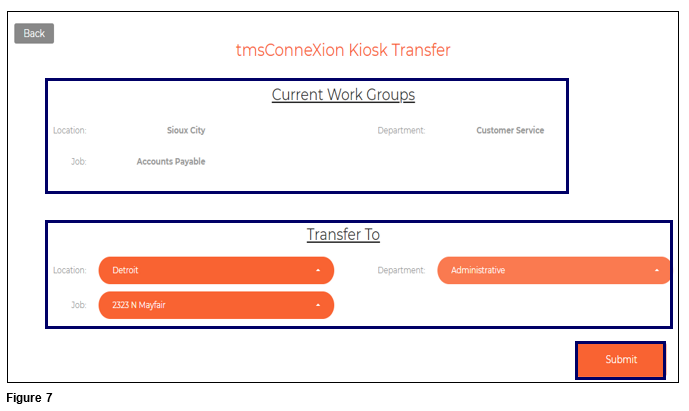
2. The tmsConneXion Kiosk Transfer box will open. The top of the box will display the user’s Current Workgroups. The bottom of the box will show the workgroup Transfer To options. Click on the orange circle next to each workgroup to expand the list; in some cases, users will only see the options available to them. Users may either scroll the list or start typing if the choice if known (the dropdown boxes have predictive type and search). Once each of the options are selected, click Submit (Figure 7).
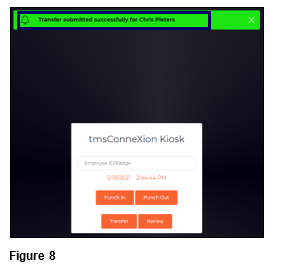
3. The user will receive confirmation of their successful transfer (Figure 8).
Review
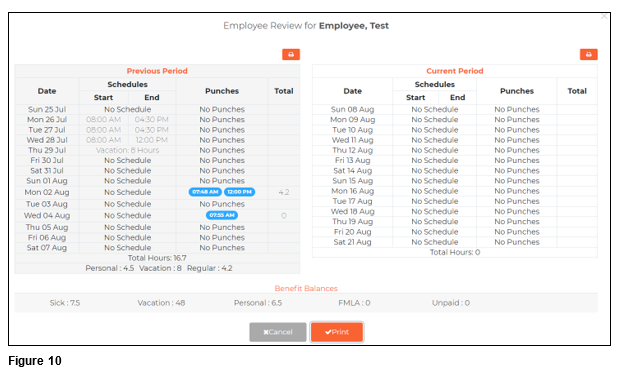
Users can review the following information for both the Previous and Current pay periods if used:
a. Schedules (if used)
b. Punches
c. Hours
d. Time Off including the benefit used and the hours
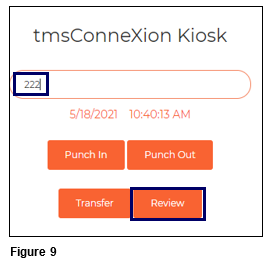
1. Enter the Employee ID or Badge and click Review to see the information (Figure 9):
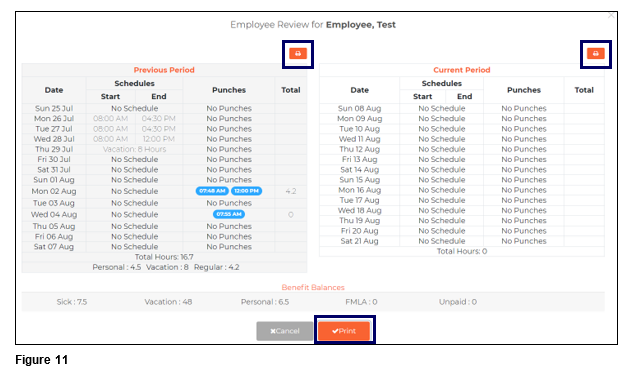
2. The employee information review will display; click Cancel to close (Figure 10).
If connected to a wireless printer, the user may click the Print button to produce a hard copy (Figure 11).