How to Use Manage Home in tmsConneXion v4
Summary
This document addresses how use Manage Home in tmsConneXion v4.
How to Manage Home
Manage home allows users with rights (Payroll Managers and Custom Roles with assigned rights) to create text, image and video messaging for all tmsConneXion users to see. Notifications can also be sent to the Notification Bell separately or in conjunction.
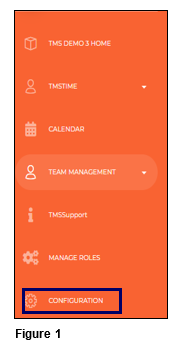
1. From the menu, select Configuration (Figure 1).
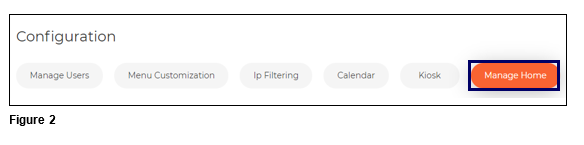
2. From the Configuration menu, select Manage Home (Figure 2).
3. To post a message, set the Notification Alert which designates where the message will be displayed. Home will place the message on the tmsConneXion Dashboard; Notification Bell will place the message in the Bell and Both will display the message in both areas (Figure 3). Please note, the Notification Bell will not display videos or images.

4. Set the Type of message by selecting the radio button next to Image, Video or Text. Please note, Text can be added to both Image and Video; Text is text only (Figure 4).

Posting an Image
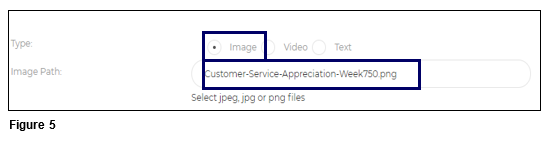
5. To post an Image, select the proper radio button. Select your Image Path by clicking on the Chose File box. Find and select the jpeg, jpg or png file on your network or local computer (Figure 5).
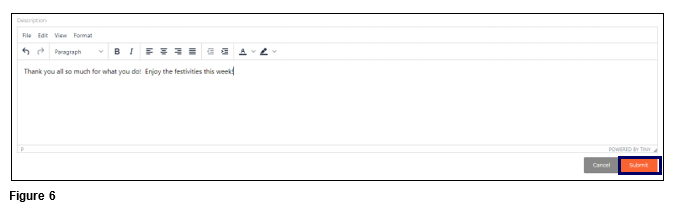
6. Enter and edit the text message that will display with the image. When done, click Submit (Figure 6).
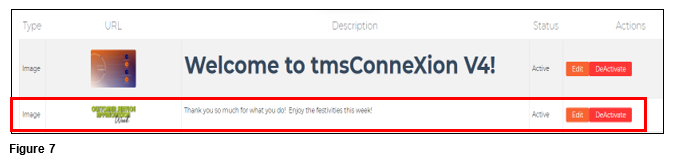
7. A message stating that the Image addition was successful will display. The Image with text will be added to the list and the Home Screen message rotation (Figure 7).
Posting a Video
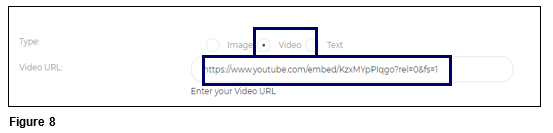
8. To post a Video, select the proper radio button. Paste the URL in the Chose File box. (Figure 8).
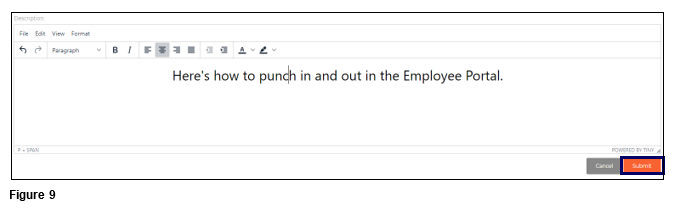
9. Enter and edit the text message that will display with the video. When done, click Submit (Figure 9).
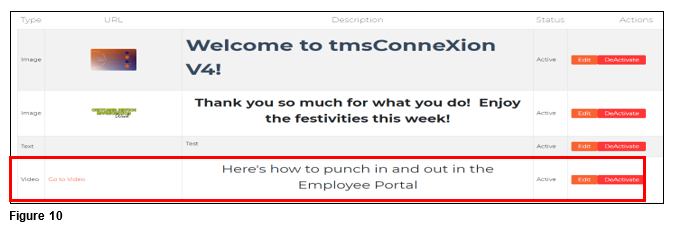
10. A message stating that the Video addition was successful will display. The Video with text will be added to the list and the Home Screen message rotation (Figure 10).
Posting Text
11. To post a Text only message, select the proper radio button. Paste the URL in the Chose File box. (Figure 11).

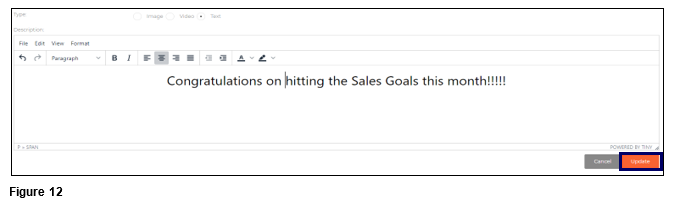
12. Enter and edit the text message that will be displayed. When done, click Submit (Figure 12).
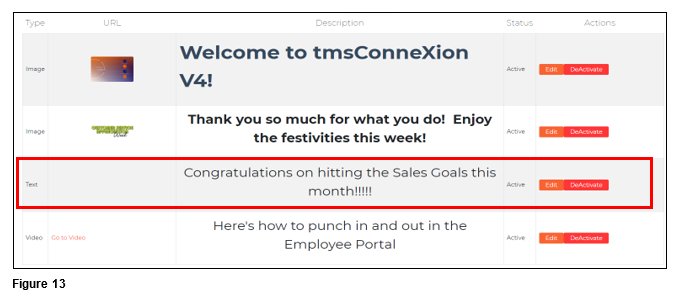
13. A message stating that the Text addition was successful will display. The Text will be added to the list and the Home Screen message rotation (Figure 13).
To Edit a Message
Users may also Edit existing messages by changing the text, the URL or the image.
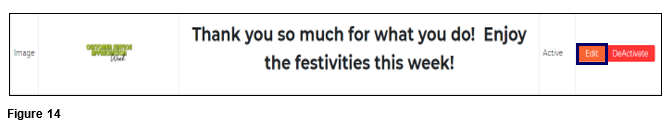
1. From Manage Home, identify the message that needs to be changed. Click on Edit next to the message (Figure 14).
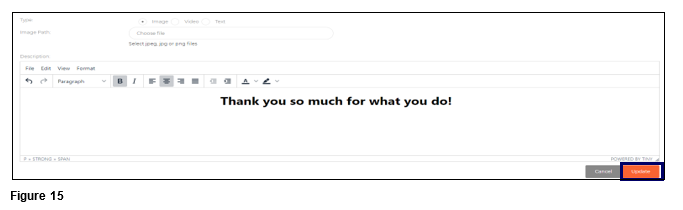
2. Make the appropriate edits and click Update (Figure 15).
3. A message stating the edit was successful will display and the posted message has been changed (Figure 16).

To Deactivate/Activate a Message
Messages can be removed from the rotation by Deactivating or added back by Activating.
1. From the Manage Home tab, locate the message to be removed from the message rotation and click Deactivate (Figure 17).

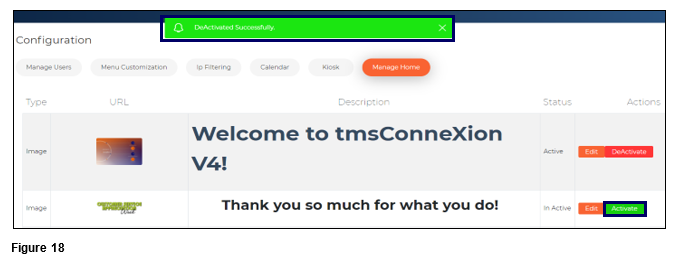
2. A message will display at the top of the screen stating that the Deactivation was successful. The Deactivate button will turn to a green Activate (Figure 18).
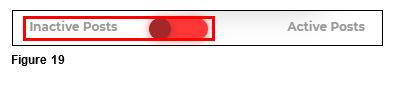
3. To Activate a message, click on the Inactive Posts toggle button (Figure 19).
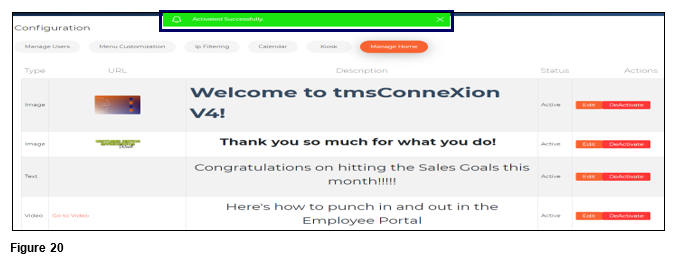
4. Click the green Activate button. A message will display stating the Activation was successful and the message has been added back to the rotation (Figure 20).
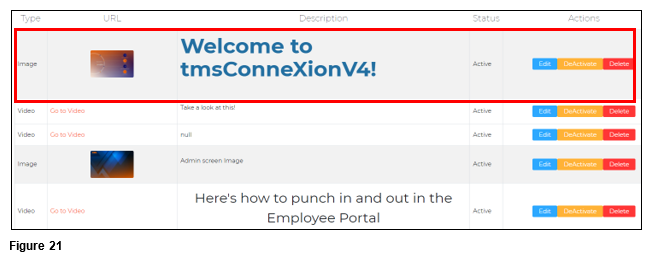
Reorder the Posts
The list of Active posts can be reordered at any time by the Payroll Manager.
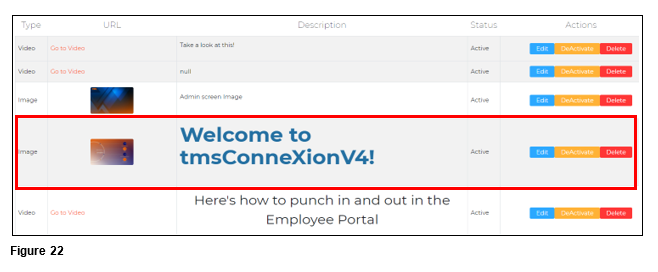
1. Click on the entry to be moved in the list (Figure 21); drag and drop to its new place. Repeat as necessary until the list is ordered properly (Figure 22).