How to Grant Access Rights in tmsConneXion v4
Summary
This document addresses how to grant Access Rights in tmsConneXion v4. Access Rights can be given while setting up a new employee or added/edited for a current employee. The following instructions will demonstrate how to add and delete Access Rights for an existing employee.
Access Rights allow managers and supervisors to view employee’s information on Manage User. Access Rights when used in conjunction with a User Type that gives access to MyTeam will also grant the ability to view and edit timecards, view and approve time off requests and respond to direct messages (when these features are used).
Granting Access Rights
1. From the menu, open Team Management and select Manage (Figure 1).

2. Find the employee. Verify they have a User Type of either Manager or Manager/Employee and select the yellow Edit button (Figure 2).

3. Click TMS Time Setup (Figure 3).

4. From the Access Rights section, click Add. Please note, any existing Access Rights would be listed here as well (Figure 4).

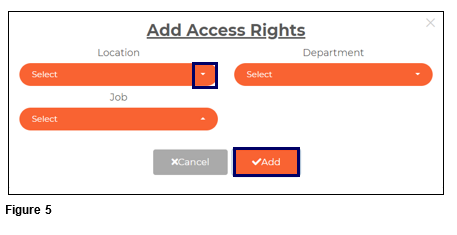
5. The Add Access Rights box will display with the available options. Use the dropdown arrows on each workgroup to make the appropriate selections (the dropdown boxes have predictive type and search so as a word is typed, the available options will narrow). Please note only one set of Access Rights can be added at a time. Once all workgroup selections have been made, click Add (Figure 5).
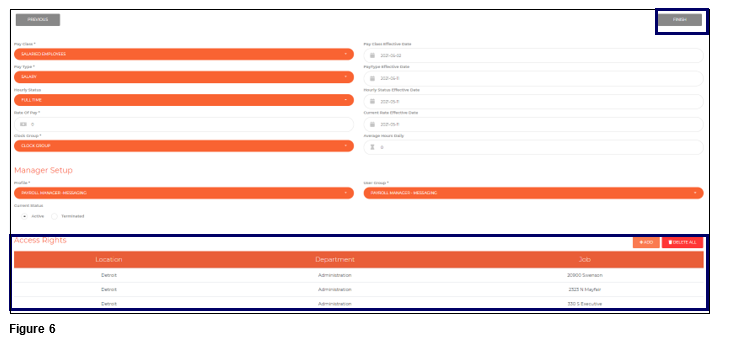
6. The newly added Access Right will be displayed. Repeat this process to add more rights to the user and when done, click Finish in the upper right-hand corner (Figure 6).
Deleting Access Rights
Access Rights can be deleted; please note that that existing rights can not be edited. If an Access Right needs to be changed or deleted, all Access Rights have to be deleted for an individual user.
1. To delete Access Rights, navigate to the TMS Time Setup and Access Rights as documented in steps 1-4 above.
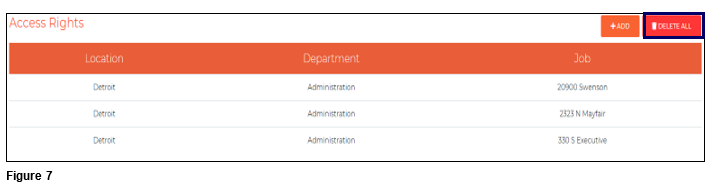
2. Click on Delete All (Figure 7).
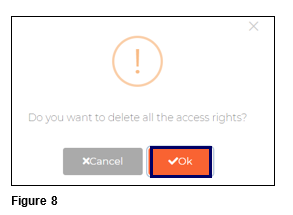
3. Click OK to confirm the Delete request (Figure 8).
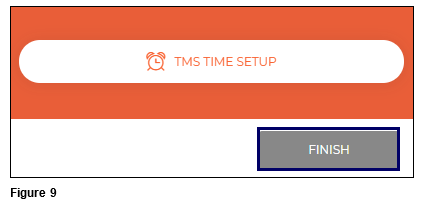
4. Click Finish to save the changes (Figure 9).