How to Set up Roster Scheduling by Job
Summary
This document addresses how to set up roster scheduling by job.
Roster Scheduling by Job
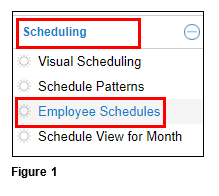
1. From the menu, go to Scheduling and select Employee Schedules (Figure 1).
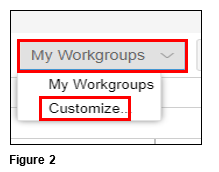
2. At the top of the screen, click on My Workgroups and Customize (Figure 2).
3. On the bottom left corner of the screen, click on Add New (Figure 3).

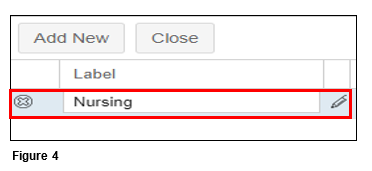
4. Rename the New Group by clicking on it and typing the new name (Figure 4).
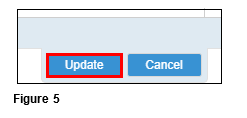
5. Click on Update (Figure 5).
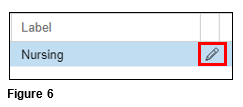
6. Click on the Pencil beside the new name (Figure 6).
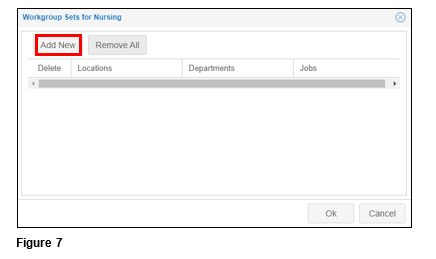
7. Click on Add New (Figure 7).
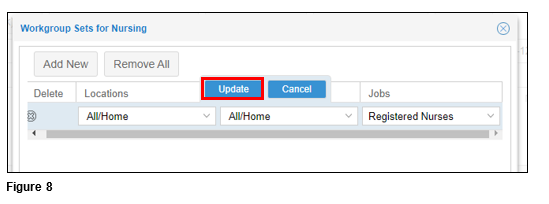
8. With the new option use the drop down to select the job you want and click on Update. Click OK (Figure 8).
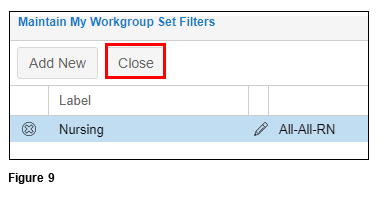
9. Select Close and the user will now see their groups by week (Figure 9).