How to Create a Split Shift for Visual Scheduling
Summary
This document addresses how to create a split shift to be used with Visual Scheduling.
How to Create a Split Shift
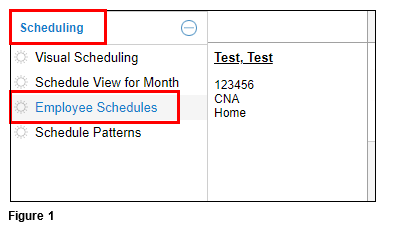
1. From the menu, select Scheduling and Employee Schedules (Figure 1).
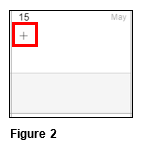
2. Click on the ‘+’ under the appropriate date (Figure 2).
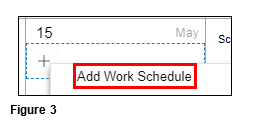
3. Select Add a Work Schedule (Figure 3).
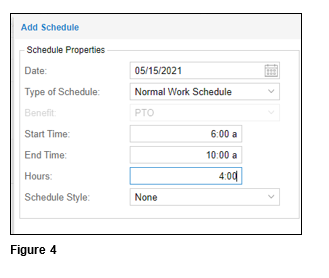
4. Enter the first schedule and click OK (Figure 4).
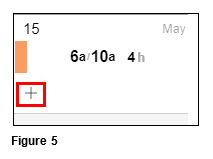
5. Click on the ‘+’ again and select Add Work Schedule (Figure 5).
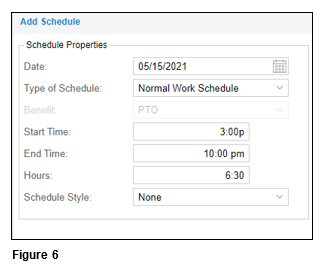
6. Enter in the new second schedule and click OK (Figure 6).
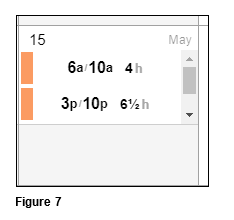
7. The calendar date will display the two newly entered schedules (Figure 7).
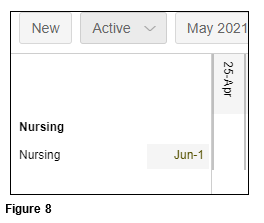
8. Select Visual Scheduling from the menu and view the Active templates (Figure 8).
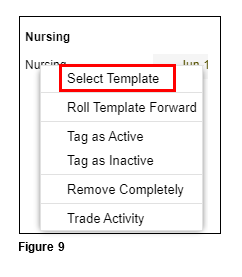
9. Right click on the appropriate template and choose Select Template (Figure 9).
10. Click on Operations and Actions. Select Acquire Like Schedules (Figure 10).
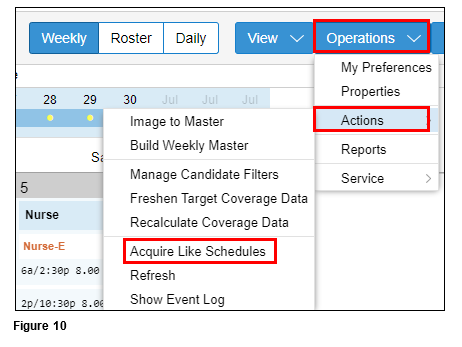
11. This will bring in the changes you have made to Roster scheduling.