How to Prepare PBJ For CMS Reporting
Summary
This document addresses work instructions for how to export PBJ to CMS reporting.
PBJ to CMS Reporting
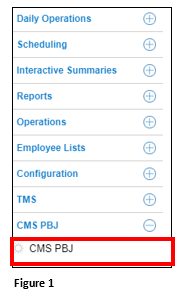
1. Once logged into the Manager Portal in tmsTime, select CMS PBJ from the menu and then click on CMS PBJ (Figure 1).
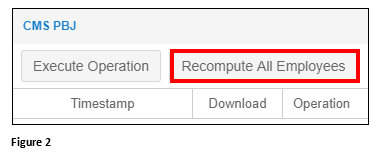
2. Click Recompute All Employees, which will ensure all recently added transactions are updated. This could take 30-40 minutes (Figure 2).
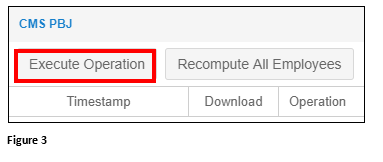
3. Once the recompute has finished processing, click on Execute Operations (Figure 3).
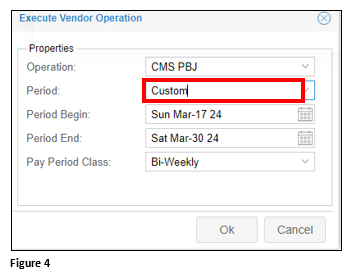
4. As a best practice, TMS recommends running the PBJ report after each pay period, however, select the Period and dates that work best for your organization. For the Pay Period process, use Custom and select the pay period dates. Click OK (Figure 4).
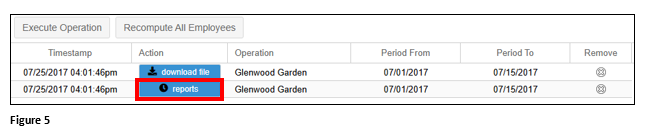
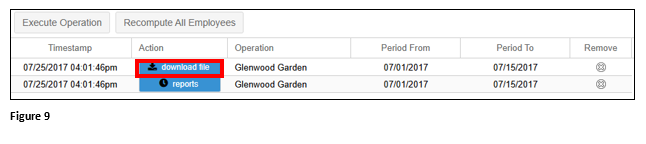
5. Once the process has finished, two sets of files will be available; Download File and Reports. The Reports file will contain the Hours Control report which should be reviewed prior to submission while the Download File contains the actual .xml that will be uploaded to CMS. Click Reports to download (Figure 5).
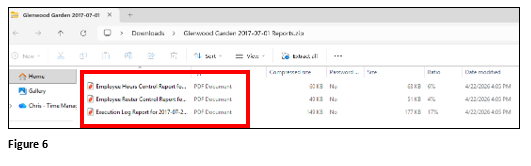
6. The file will download to the computers Download folder as part of a zipped file and will contain 3 files (Figure 6).
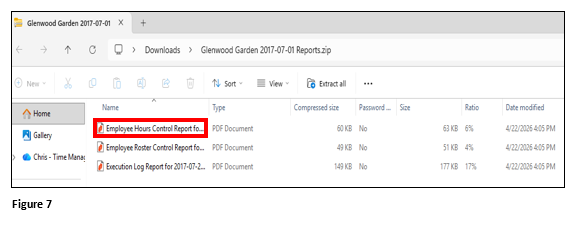
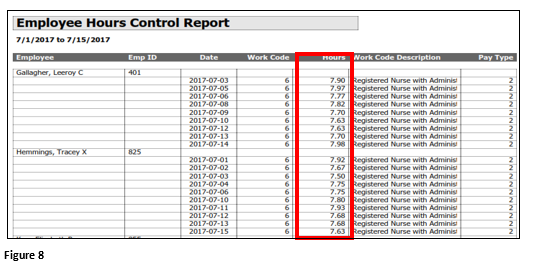
7. Open the Hours Control Report (Figure 7).
8. Before submitting to CMS, the Hours Control Report should generally be reviewed for any employees with more than 24 hours worked on a given day. If this is detected, the user should fix the employee’s timecard and re-run the PBJ file (Figure 8).
9. Back in MSS, click Download File to access the .xml (Figure 9).
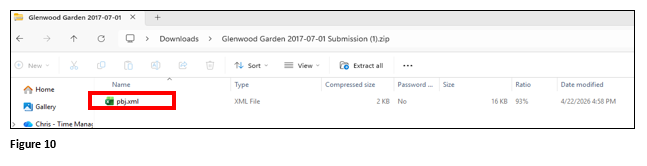
10. The .xml will download as part of a zipped file and is now available for upload to CMS (Figure 10).