How to Use ESSMobile3
ESS Mobile:
Please note that not all features shown in the User Guide may be configured.
Once the ESS Mobile app has been installed on the phone and pointed to the database, users will be able to log in using their Badge Number and PIN just as if they were logging into Employee Portal.
ESS Mobile Install
1. On the Android or iPhone use Google Chrome or Play Store
2. Type in ESS Mobile for Attendance on Demand
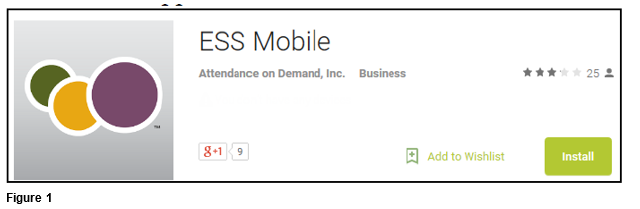
3. Use the App shown below (Figure 1).
4. If the user denies the installation, they will not be able to use the app.
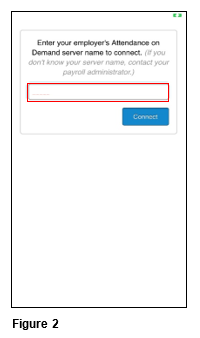
5. Once installed and opened for the first time, enter the TMS provided database name (Figure 2).
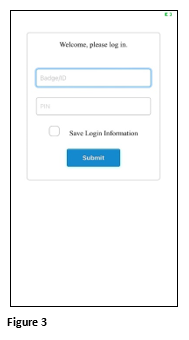
6. When the database has connected the sign is screen will appear (Figure 3).
Punching In/Out
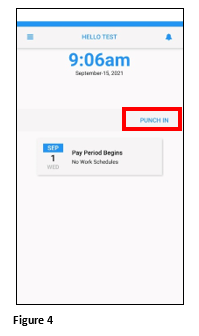
1. To punch tap on either the Punch In or Punch Out button; please remember, location services must be enabled to punch. (Figure 4).
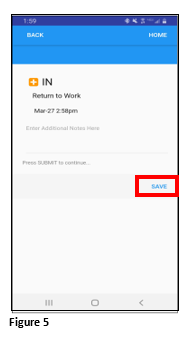
2. The user will tap Save to send the punch request (Figure 5).
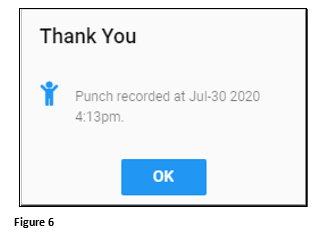
3. The user will see a punch recorded message once accepted. Tap OK (Figure 6).
4,. Repeat the steps to punch out.
Transfer
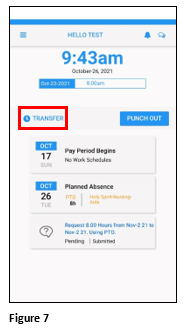
1. After punching in, tap Transfer on the homepage (Figure 7).
2. Select the appropriate department and cost center transferring to and tap Save. A Transfer Accepted message will appear (Figure 8).

Requesting Time Off
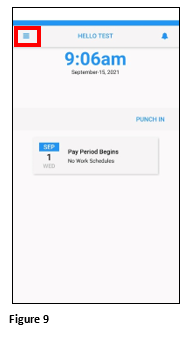
1. To request time off, tap on the Hamburger Menu (Figure 9).
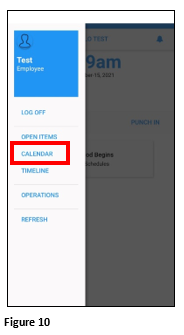
2. From the menu, tap Calendar (Figure 10).
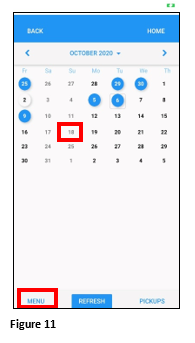
3. Tap on the day to start the time off (an orange line will be under the date to indicate the selection. Tap Menu (Figure 11).
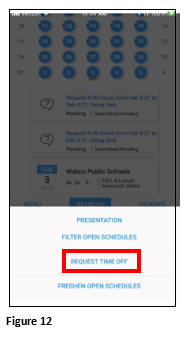
4. Tap Request Time Off (Figure 12).
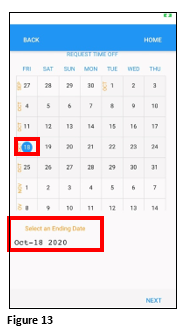
5. The Request Time Off calendar will open. The date previously selected will be highlighted in blue and the starting date will display below the calendar. Please note, if the user needs to reset the starting date, simply tap any date on the calendar twice. (Figure 13).
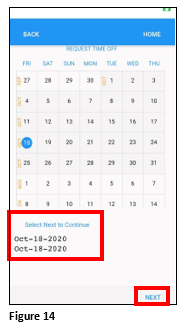
6. Tap the date on the calendar that will be the end day; if requesting just one day off, tap the start date again. Tap Next (Figure 14).
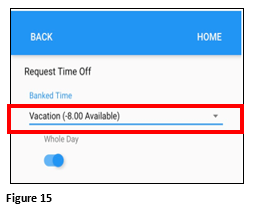
7. Tap the benefit to be used by clicking on the arrow button under Banked Time (Figure 15).
8. If the request is for the whole day leave the button checked and verify the number of hours to be used (change as necessary) (Figure 16).
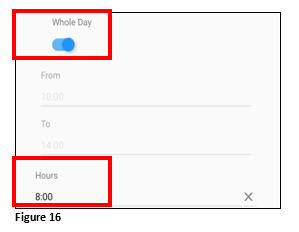
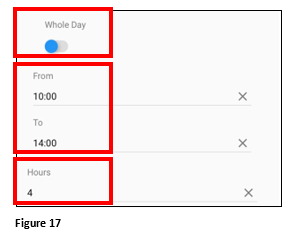
9. If the request if for a partial day, tap the button under Whole Day. Change the From and To hours and the total Hours to be used (Figure 17).
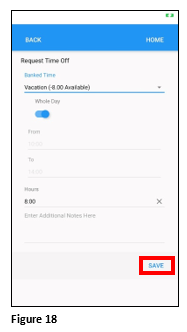
10. Once the information is confirmed, tap Save (Figure 18).
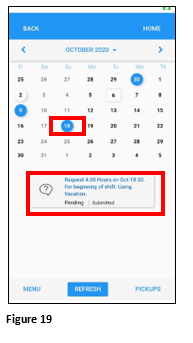
11. The request will be submitted to the supervisor and the transaction will display on the calendar with a blue circle as well as below the calendar (Figure 19).
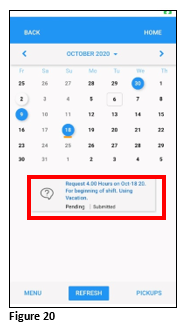
12. To cancel the not-yet-approved request, tap the pending request box (Figure 20).
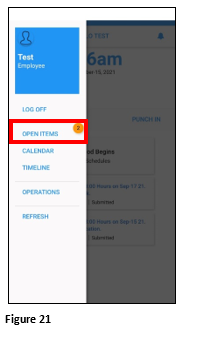
13. The user may also cancel the not-yet-approved request by tapping the Hamburger Menu and Open Items (Figure 21).
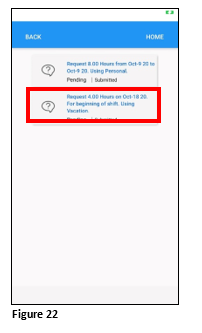
14. Tap the open request (Figure 22).
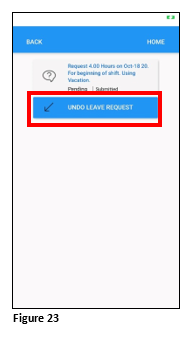
15. Tap Undo Leave Request (Figure 23).
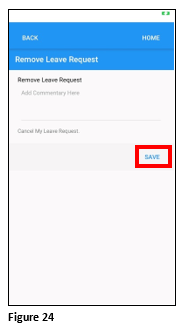
16. Add and notes and tap Save (Figure 24).
Leave a Message
Users can message their manager with the Leave a Message tile. Please note that when a manager responds to an employee message that it will show in Employee Portal (ESS) and the employee’s email. It will not display in ESSMobile.
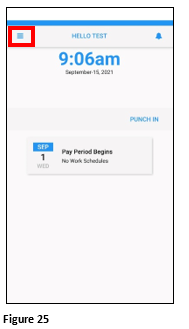
1. To initiate a conversation, tap the Hamburger Menu button (Figure 25).
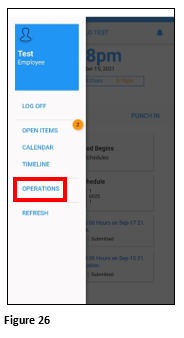
2. From the menu, tap Operations (Figure 26).
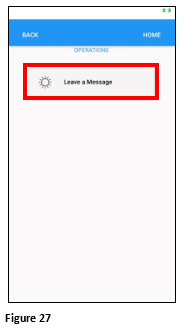
3. Tap Leave a Message (Figure 27).
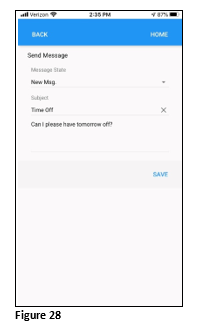
4. Type in a Subject and message and tap Save; this will send the message to the supervisor (Figure 28).
5. When the supervisor responds, it will ONLY come into the Employee Portal; it will not come into ESSMobile.
Approving the Timecard
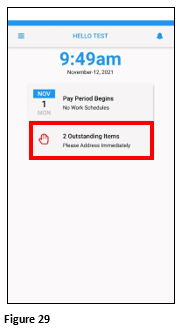
1. When the user’s timecard is ready to be approved, an Outstanding Item will appear on the home screen. Tap the tile to see the items (Figure 29).
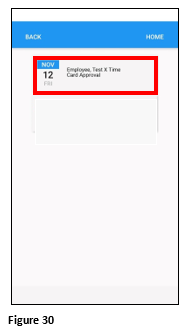
2. Tap the Timecard Approval tile (Figure 30).
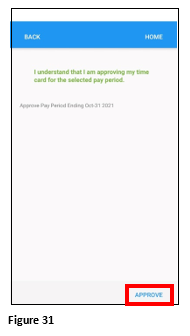
3. The user will confirm their timecard and tap Approve (Figure 31).
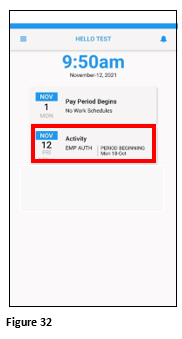
4. The timecard approval will display as an Activity Tile on the home screen. This is for reference only (Figure 32).
Time Card Review and Hours Details
Users may see their punch times for the current day at the top of the home page; they may also scroll to see each day’s punch times and location of punch as well.
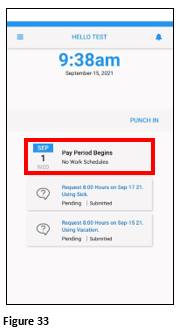
1. To review the timecard in more detail, tap the Pay Period Begins tile (Figure 33).
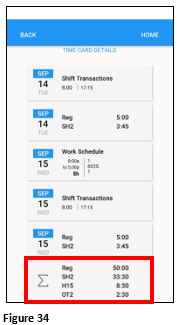
2. The user will see the current day punches and hours. The period’s hours will display under the Sum box (Figure 34). Tap Back or Home to leave the screen.
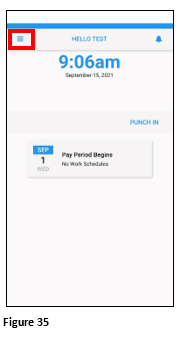
3. Employees may also see specific day’s information by tapping the Hamburger menu (Figure 35).
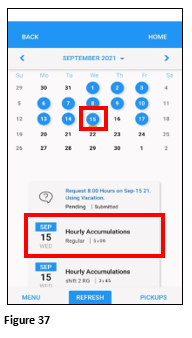
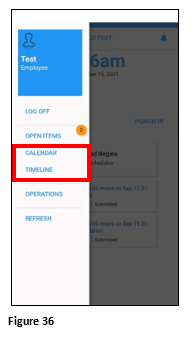
4. Tap either Calendar or Timeline (Figure 36).
5. From Calendar, tap the day to review and the timecard activity will display (Figure 37).