Setting Up Scheduled Report Emails
Summary
This document addresses work instructions on how to set up reports to automatically email.
Setting Up Auto Email Reports
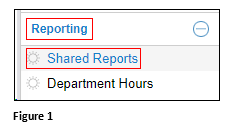
1. Log in to the Manager Portal, and from the Report menu, select Shared Reports (Figure 1).
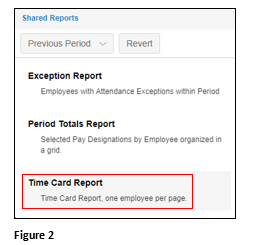
2. Select the appropriate report from the report list (Figure 2).
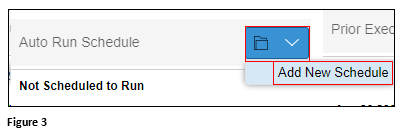
3. From the Filter Setup, select Auto Run Schedule. Click the down arrow and Add New Schedule (Figure 3).
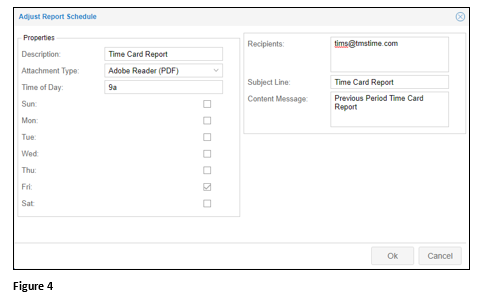
4. On the Adjust Report Schedule dialogue box, create the timed report settings such as Description, Attachment Type, Time of Day and the days of the week the report will be delivered. Also, add the Recipients and any message to be sent with the report email. Click OK (Figure 4).
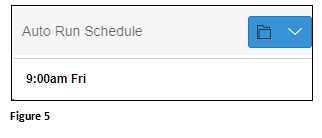
5. The report Schedule to Run has now been created (Figure 5).
To Remove a Scheduled Report Email
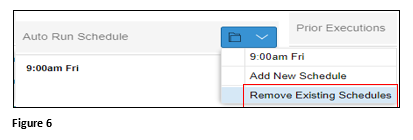
1. From the Filter Setup, select Auto Run Schedule. Click the down arrow and Remove New Schedule (Figure 6).
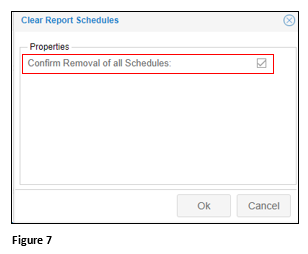
2. Check Confirm Removal of all Schedules and click OK (Figure 7).