Configuring Leave Management for tmsKiosk from tmsTime
Summary
This document addresses work instructions for how to configure and use leave management in tmsKiosk using tmsTime Cloud Software.
Configuring Leave Management
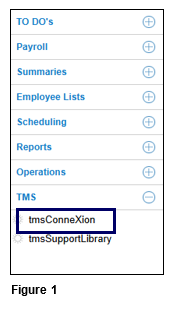
1. From tmsTime Cloud Software, open the TMS menu and select tmsConneXion (Figure 1).
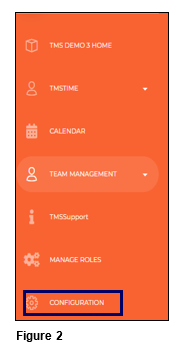
2. Open the Configuration menu option (Figure 2).
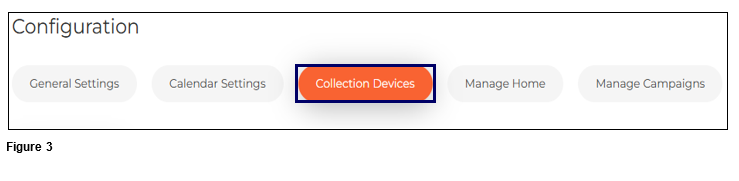
3. Select Kiosk (Figure 3).
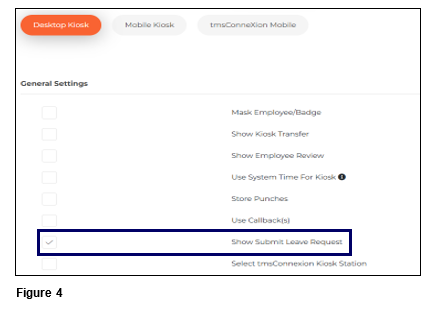
4. Under General Settings, check Show Submit Leave Request to make the option available for employees on both tmsKiosk and tmsConneXion App (Figure 4). Please note, this is ONLY for tmsKiosk and the tmsConneXion App.
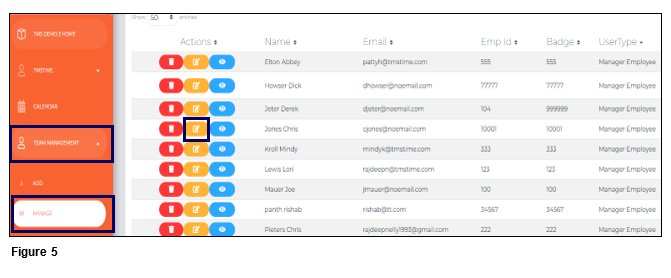
5. Once the Show Submit Leave Request box has been checked, the Payroll Manager will be able to grant Leave Request rights to supervisors/managers. Open the Team Management/Manage menu and click the Edit button next to the appropriate manager/employee or manager (Figure 5).
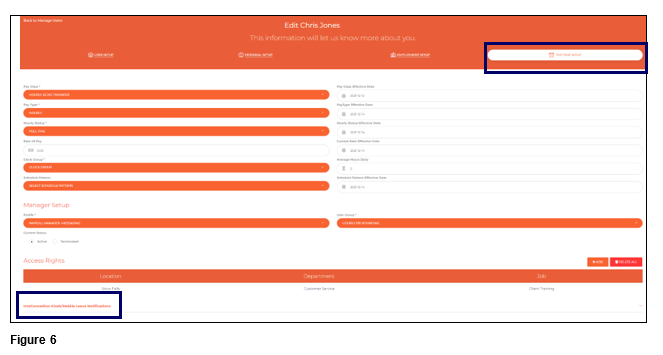
6. From the TMS Time Setup tab, click tmsConneXion Kiosk/Mobile Leave Notifications (Figure 6).
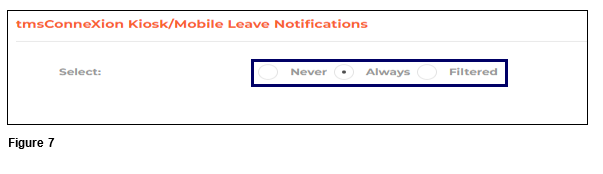
7. Each supervisor will be, by default checked to Always receive Leave Notification Requests based their Access Rights (the employees assigned to them). Check Never for the supervisor to see no notifications and check Filtered to see a list of employees. When the list of employees displays, check the box next to each employee the supervisor can see and click Save (Figure 7).