Setting Up Employee Transfer with QR Codes for tmsKiosk in tmsTime
Summary
This document addresses work instructions for how to create QR codes for transferring in tmsKiosk using tmsTime.
Setting Up Employee Transfers with QR Codes
To Create QR codes for employees to use for transferring. Please note that a QR code will need to be created for each separate transfer possibility.
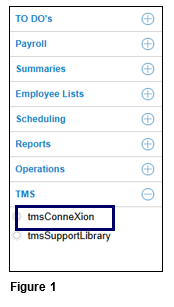
1. From tmsTime Cloud Software, open the TMS menu and select tmsConneXion (Figure 1).
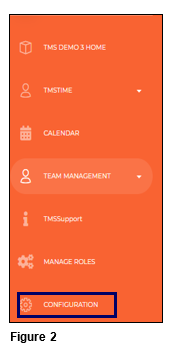
2. Open the Configuration menu option (Figure 2).
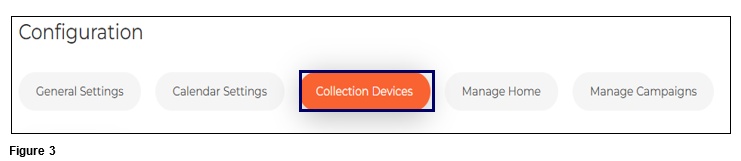
3. Select Collection Devices (Figure 3).
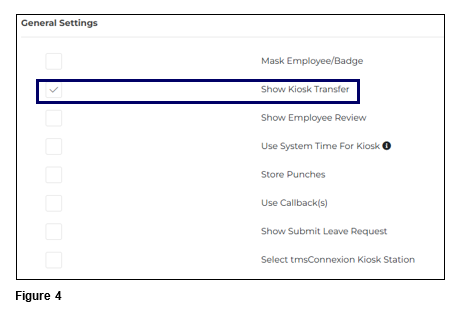
4. Under Desktop Kiosk and General Settings, check Show Kiosk Transfer (Figure 4).
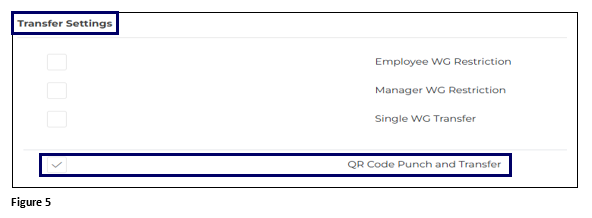
5. Scroll down and under Transfer Settings check the box next to QR Code Punch and Transfer. By keeping this box checked, the device’s camera will be activated (Figure 5).
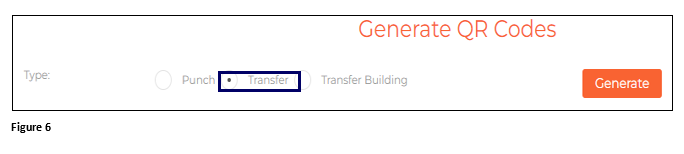
6. Check the box next to Transfer (Figure 6).
7. Select the workgroups that the employee will transfer to for the specific QR code (Figure 7).

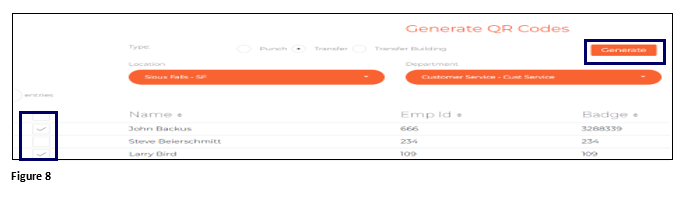
8. Either check the top box to select all employees, or individually check the box next to each employee. Click Generate to create the QR codes (Figure 8).
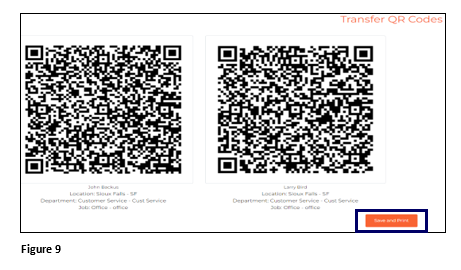
9. The Transfer QR codes will be created for each employee selected. Please note that the Workgroups display beneath the QR code. Scroll to the bottom of the page and click Save and Print (Figure 9).
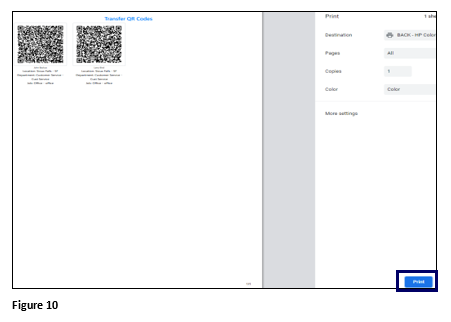
10. The Print Preview tab will open. Click Print and once done cut out the individual QR codes and distribute to the employee(s). The employee(s) may now present their QR code to transfer to the specific workgroup shown (Figure 10).