Setting Up Employee Transfer Restrictions for tmsKiosk in tmsTime
Summary
This document addresses how to set up employee transfer restrictions tmsKiosk from tmsTime.
Setting Up Employee Transfer Restrictions
Employee Workgroup Restrictions can be setup for tmsKiosk. Employee Workgroup Restrictions will allow a company to limit a specific employee from specific workgroup sets to only see transfer options to specific workgroup sets.
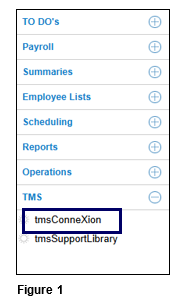
1. From tmsTime Cloud Software, open the TMS menu and select tmsConneXion (Figure 1).
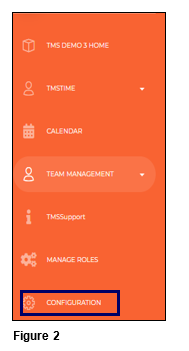
2. Open the Configuration menu option (Figure 2).
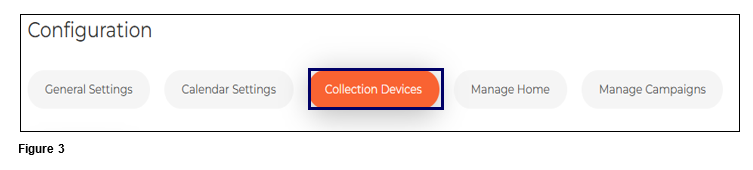
3. Select Collection Devices (Figure 3).
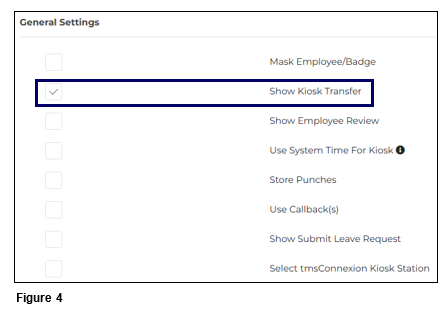
4. From the General Settings menu, check the Show Kiosk Transfer box (or verify it is already checked) (Figure 4). Please note: if both Manager Workgroup Restrictions and Employee Workgroup Restrictions are set on the same employee, Employee WG Restrictions take priority.
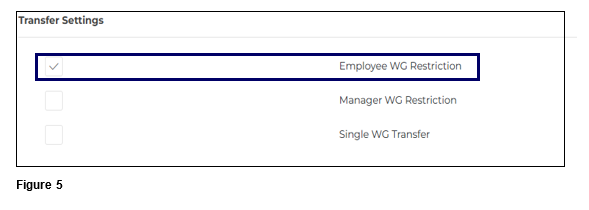
5. Scroll down. Check Employee WG Restrictions and click Submit (Figure 5).
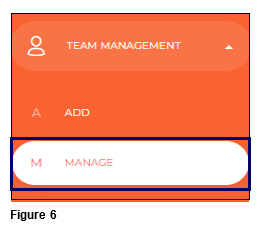
6. Once submitted, users will now be able to set up any individual employee with Employee Workgroup Restrictions. From the Team Management menu, select either Add to create a new employee with restrictions or Manage to open the list of current employees (Figure 6).
7. When either creating or editing a current employee, the user can add Employee Workgroup Restrictions on the Employment Setup tab (Figure 7).

8. Select Add to set up the Transfer Assignments (Figure 8).

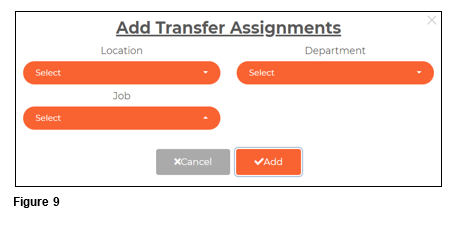
9. On the Add Transfer Assignments box, select the appropriate workgroups for the first restriction and click Add. Repeat this process to add more restrictions (Figure 9).
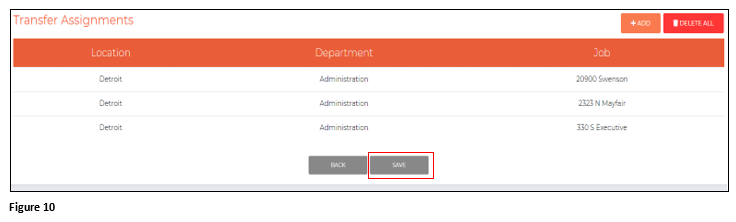
10. Once the restrictions have been added, click Save (Figure 10).