How to Transfer Using Biometrics on the tms100
Summary
This document includes directions on to transfer using biometrics on the tms100 time clock.
Transferring with Biometrics
To perform a temporary workgroup transfer, complete the following steps.
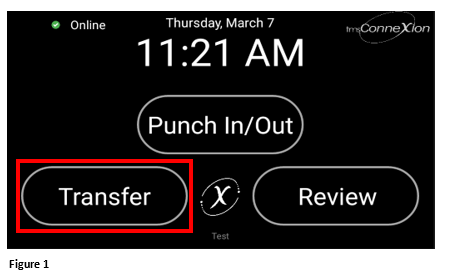
1. Once employees have been enrolled in the clock, tap the Transfer button (Figure 1).
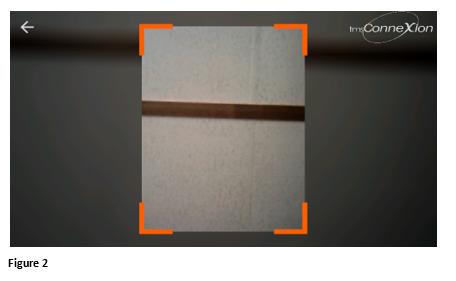
2. The employee will be presented with a photo box (Figure 2).
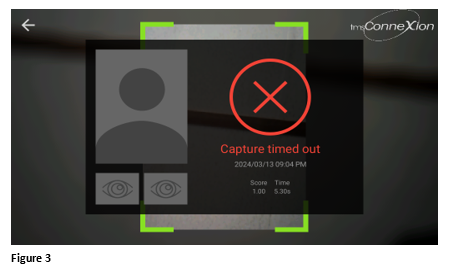
3. If no face is presented, the transaction will be timed out (Figure 3).
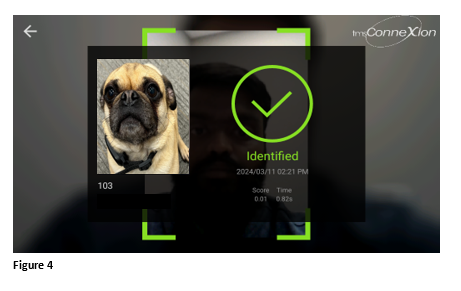
4. Employees will generally not need to remove glasses (if worn). Present your face in the camera box and when the transaction is successful, an Identified message, along with the employee’s original picture will display (Figure 4).
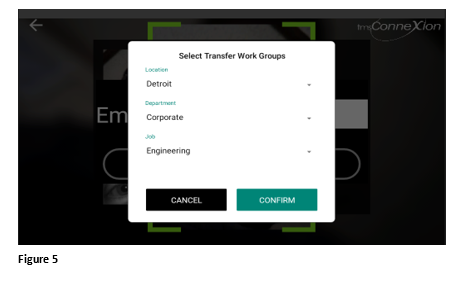
5. The Transfer option box will automatically display. The employee will make their transfer options using the drop-down menus and when done, tap Confirm (Figure 5).
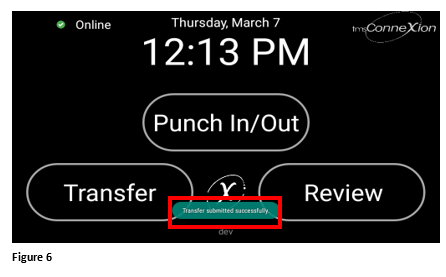
6. The display will return to the home screen with a Transfer Submitted Successfully message (which will disappear after a couple of seconds) (Figure 6).