How to Register a Device for the tmsKiosk App
Summary
This document outlines how to register a device for use with the tmsKiosk app.
Communal Devices with access to either the Google Play Store or the App Store will download the tmsKiosk app and register each device with a unique name and assign to a station ID. Please note, the tmsKiosk app should not be used as a replacement for the ESSMobile3 App or other mobile apps; this is for devices staying on premises.
Generating a QR Code
To register a device, a registration QR code must be generated in tmsConneXion.
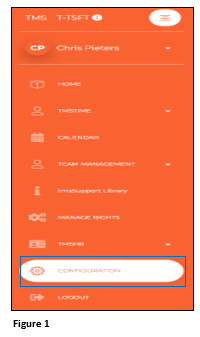
1. From tmsConneXion, click on the Configuration menu (Figure 1).
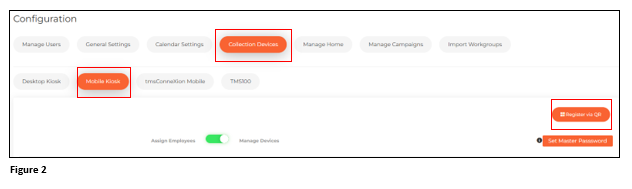
2. Click the Collection Devices and Mobile Kiosk menus. Click Register via QR (Figure 2).
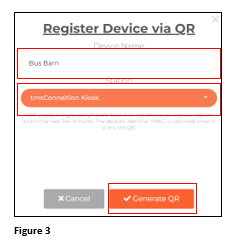
3. From Register Device via QR, create a Device Name and select a Station ID from the Station dropdown. As a best practice, name the device with a specific name or the location of the device. The Station ID list will pull from the organization’s existing list and can only be modified by TMS. The purpose of assigning a Station ID is for tracking device usage by employee such as which device was used to record a punch. While it is recommended that each device is assigned to a unique Station, devices may be assigned to the same ID, however collection data may be inaccurate (Figure 3).
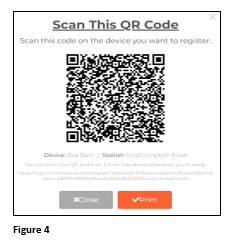
4. The QR code will be created where the user may either Print and take it to the specific device for registration or bring the device to the QR code and register (Figure 4).
Registering a Device with App Download
Users may go to their respective Store (App or Google Play) and download the tmsKiosk App. This example will show the App Store (Apple).
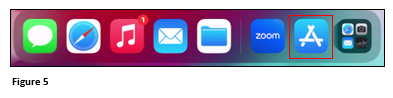
1. Tap on the App Store app (Figure 5).
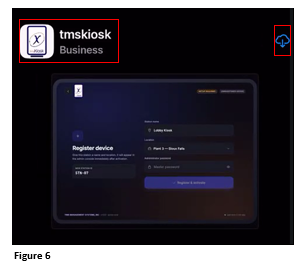
2. From the App Store, search for tmsKiosk and tap the Download icon (Figure 6).
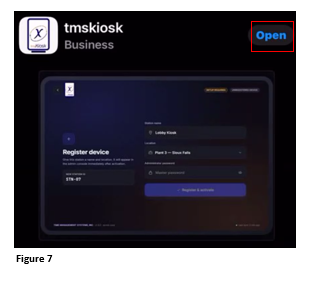
3. Tap Open (Figure 7).
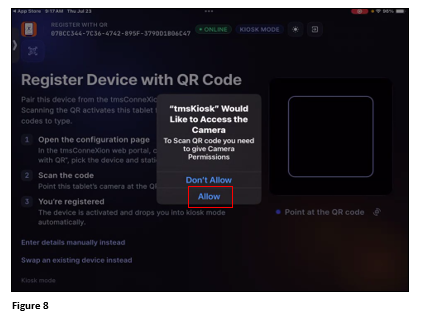
4. The tmsKiosk app will open and will ask for permission to use the device camera. Allow MUST be selected to scan the registration QR code (Figure 8).
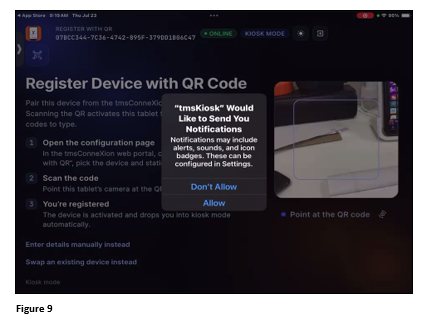
5. The tmsKiosk app will ask permission to Send You Notifications. Either Don’t Allow or Allow can be selected as this feature is not utilized (Figure 9).
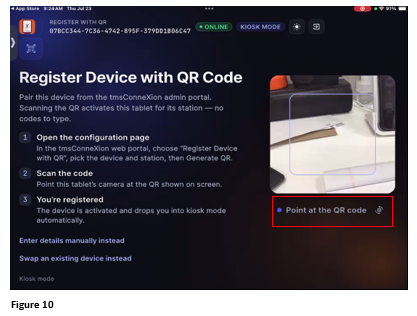
6. Point the app camera at the generated QR code (Figure 10).
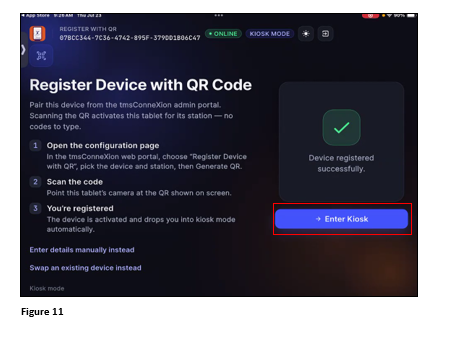
7. Once the QR is recognized, the device will register. Tap Enter Kiosk or close the screen (Figure 11).
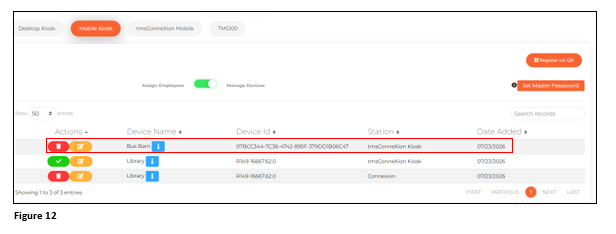
8. The Device will show as Registered in tmsConneXion (Figure 12).
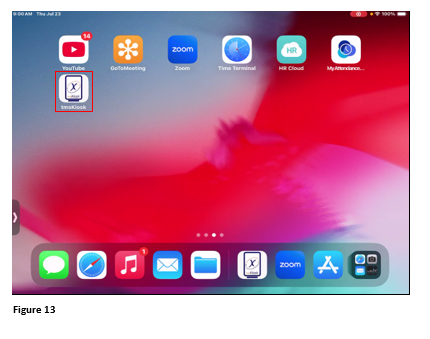
9. The tmsKiosk app will now be available on the device home page (Figure 13).
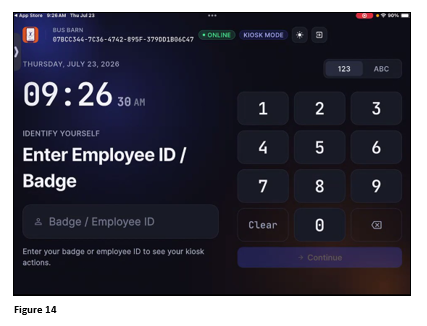
10. Double tap the tmsKiosk app icon to begin using (Figure 14).
Registering a Device with Native Camera
Users may start the app download process by starting with the device’s native camera instead of downloading the app first. This example will show the Google Play Store.
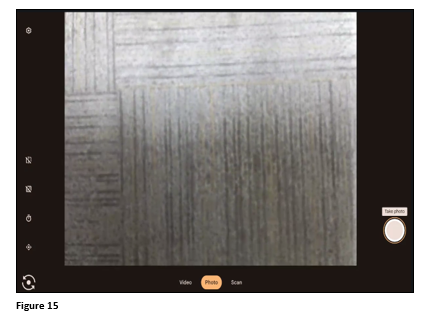
1. Open the device’s camera (Figure 15).
2. Point the device camera at the generated QR code and once recognized, click the Web Link (Figure 16).
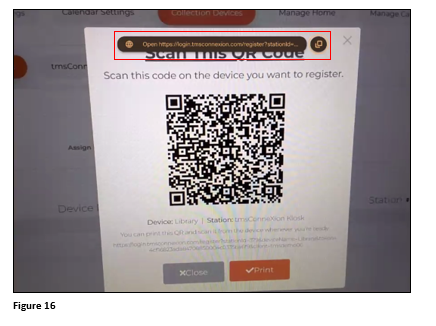
3. If the app has not been downloaded, tap Download the App (Figure 17).
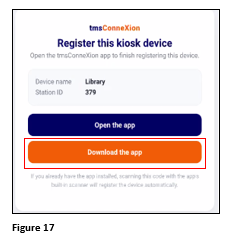
4. The Google Play Store will open to the tmsKiosk app. Tap Install (Figure 18).
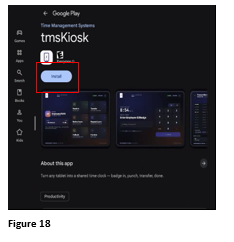
5. When the app has been downloaded, tap Open (Figure 19).
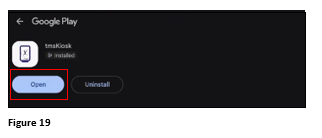
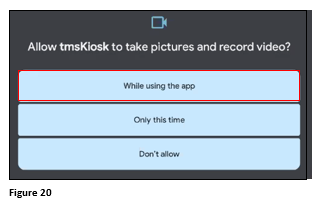
6. The tmsKiosk app will ask for permission to use the device camera. While Using the App MUST be selected to scan the registration QR code (Figure 20).
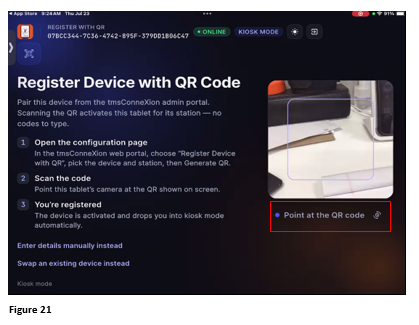
7. The tmsKiosk app will open. Point the app camera at the generated QR code (Figure 21).
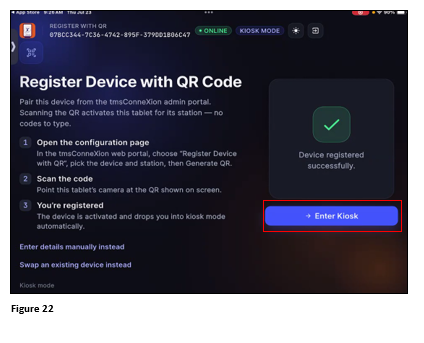
8. Once the QR is recognized, the device will register. Tap Enter Kiosk or close the screen (Figure 22).
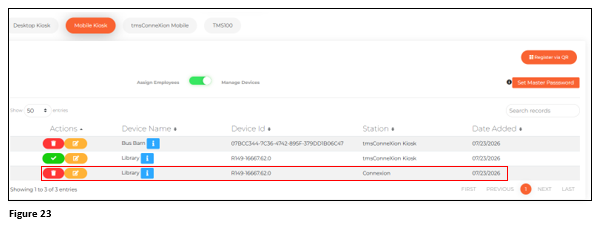
9. The Device will show as Registered in tmsConneXion (Figure 23).
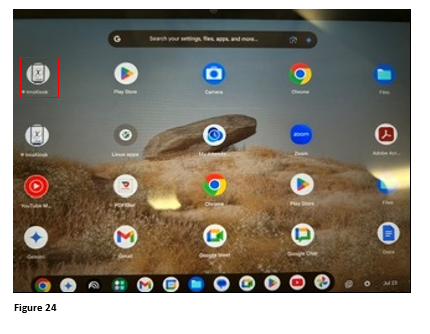
10. The tmsKiosk app will now be available on the device home page (Figure 24).
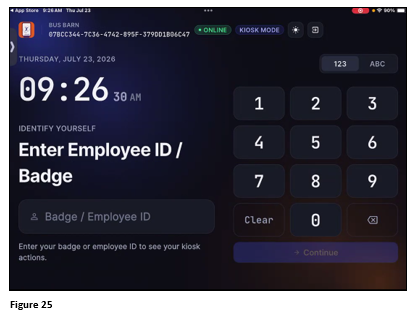
11. Double tap the tmsKiosk app icon to begin using (Figure 25).